
Step-by-step instructions to upgrade to the new version of Stripe and continue seamlessly processing client payments
It's quick and easy to upgrade to Owl Stripe Connect, Owl's new version of Stripe! When you're ready to upgrade your account to the latest version, you can follow these simple instructions.
- Login to your Owl account and go to Settings > Payment Details > Stripe:
.png?width=655&height=314&name=image%20(22).png)
- Click the Migrate Account button. This button is only visible to Practice Owners. Therapists and Office Admins do not have the user permissions needed to setup or disable the Stripe connection.
Note: Your progress will be saved automatically on each page, allowing you to return to the application at a later time if necessary. - You will be redirected to Stripe within the same tab. Enter your phone number (mobile) and email address in the fields provided:
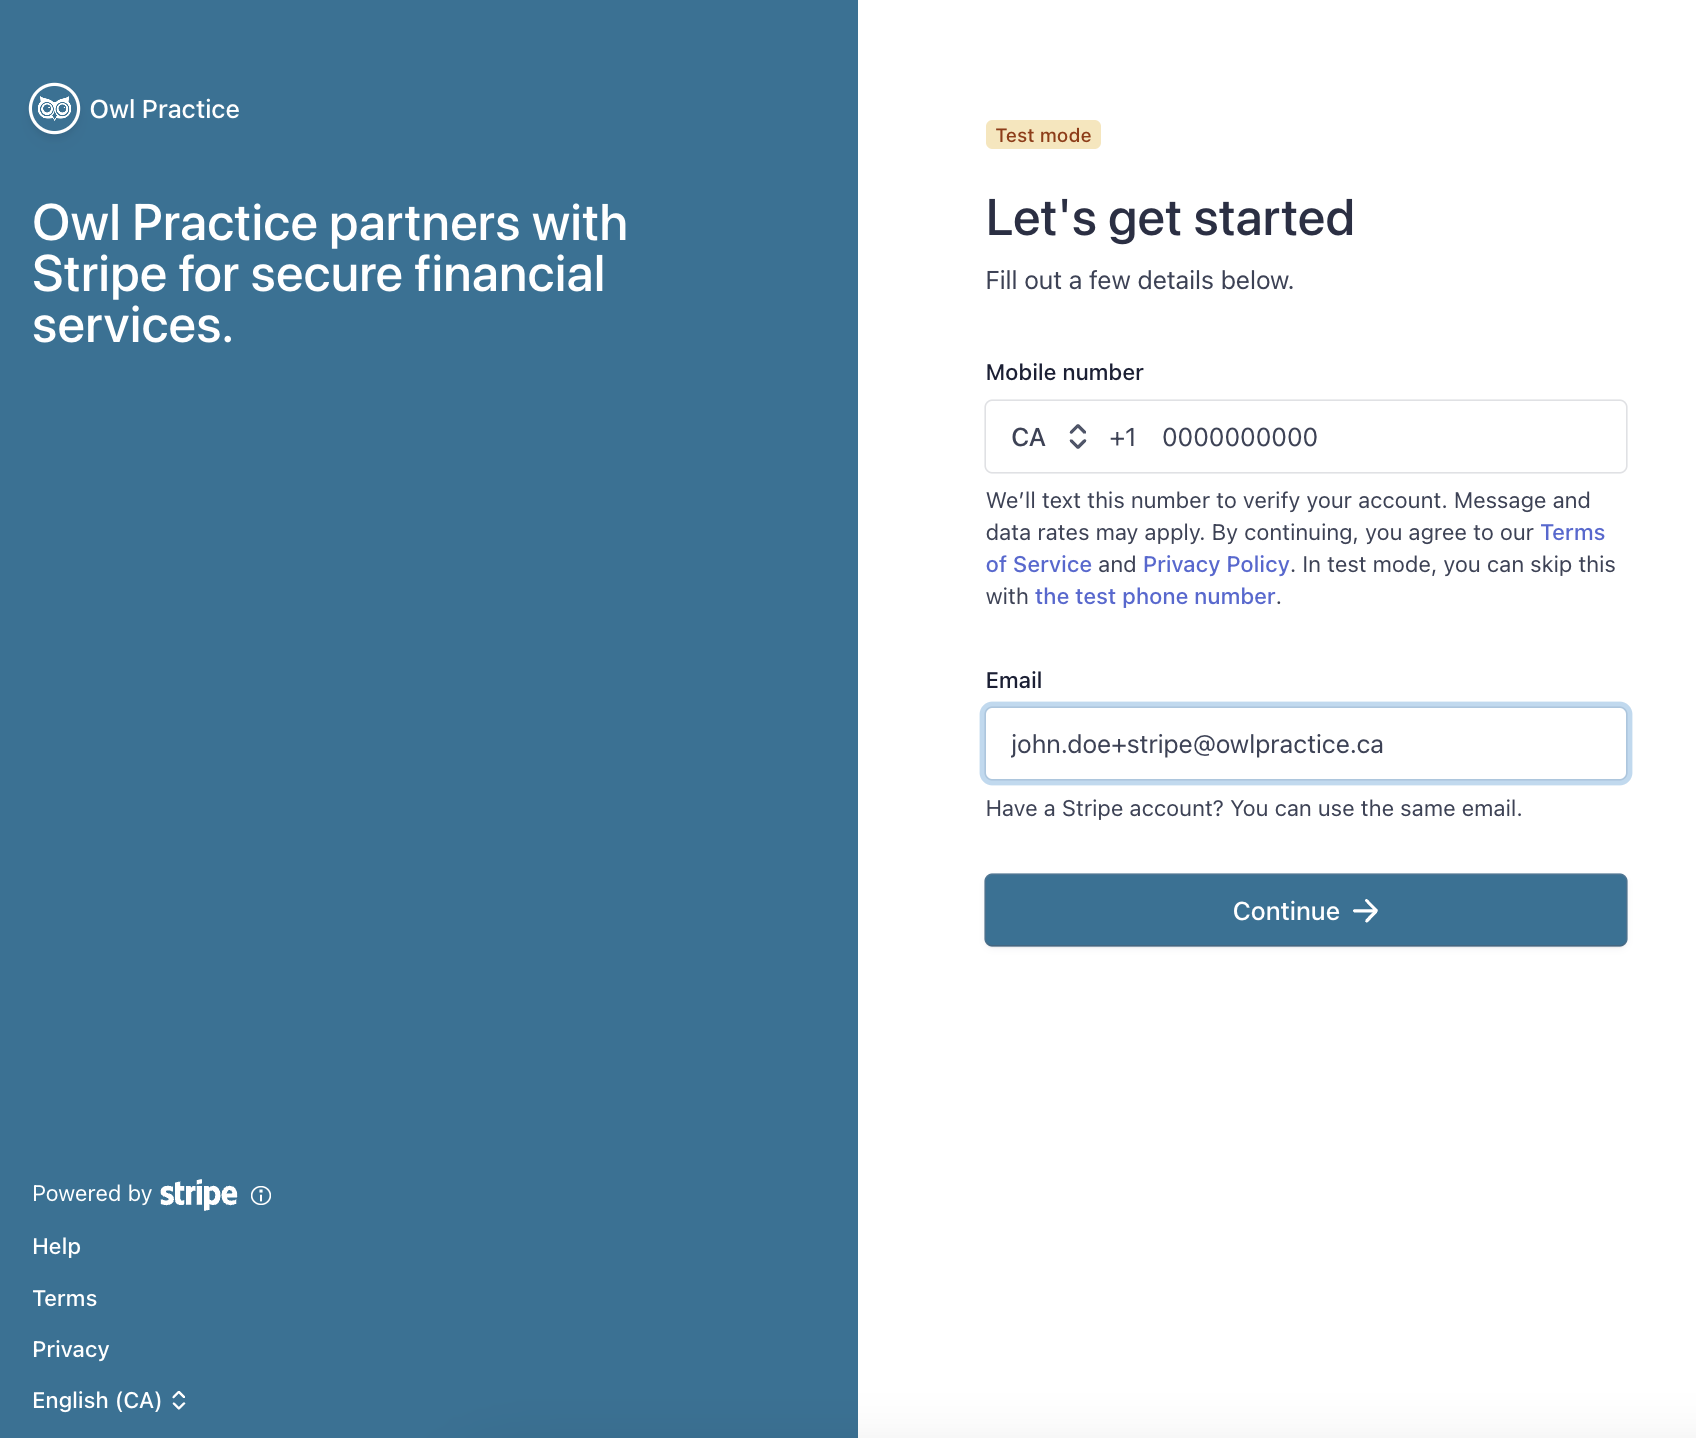
- Enter the verification code that was sent via text message to the phone number you provided to continue. You can resend the code if you did not receive it or have difficulties inputting it.
- Next, enter the information that best describes your business type in the fields provided:
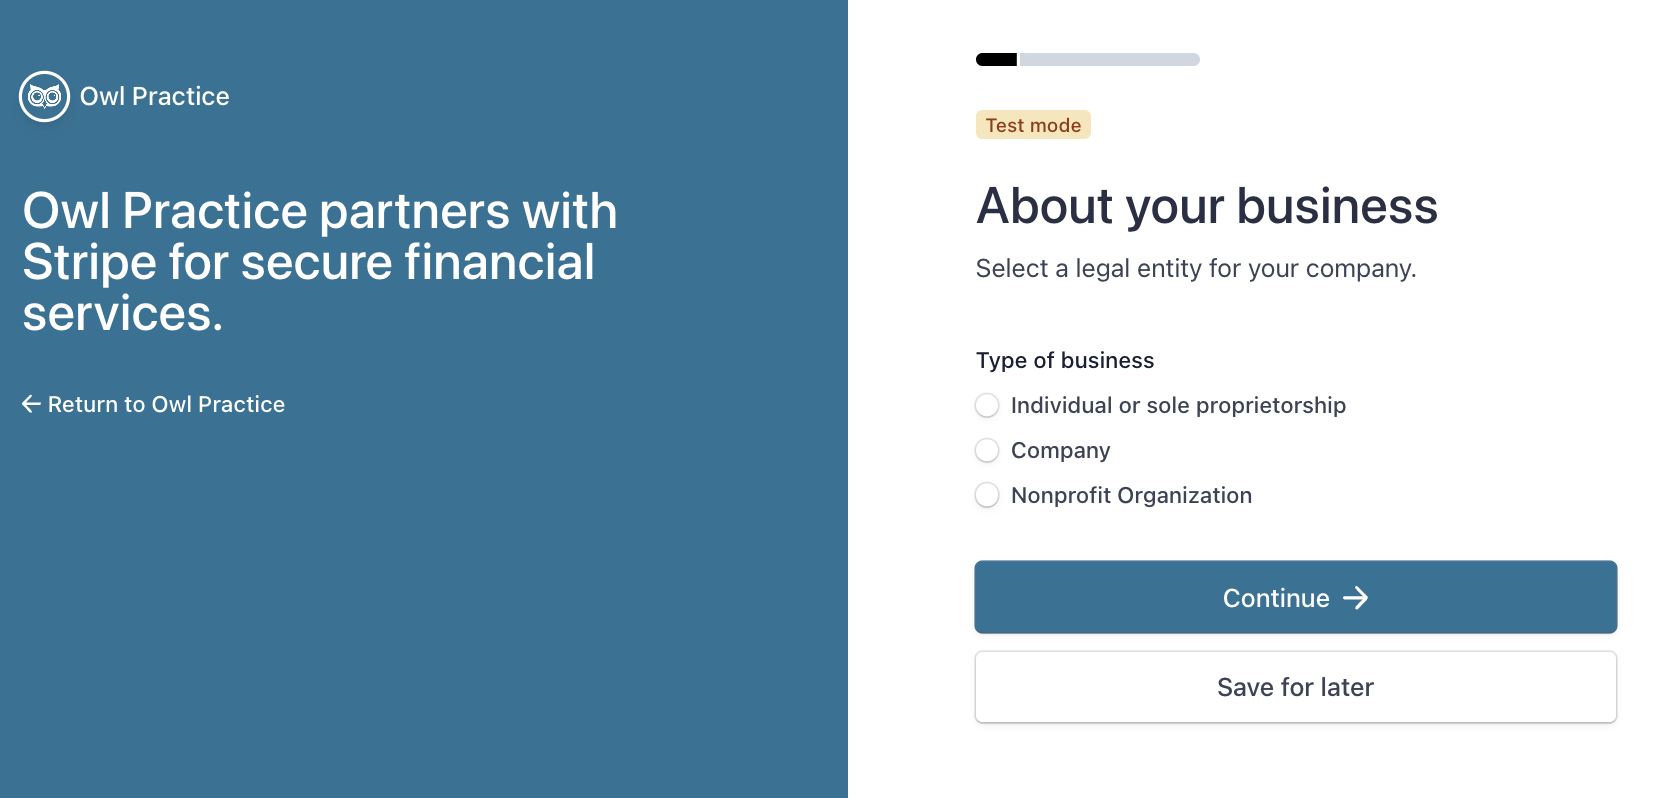
Note: Be sure to choose the right Type of business for your practice, as this is not something that can be easily changed after your account is created. If an error does occur, please contact us ASAP for help resolving the issue - Business or Personal Details
- If you've selected Company as your business type: you'll be asked for your business name and address:
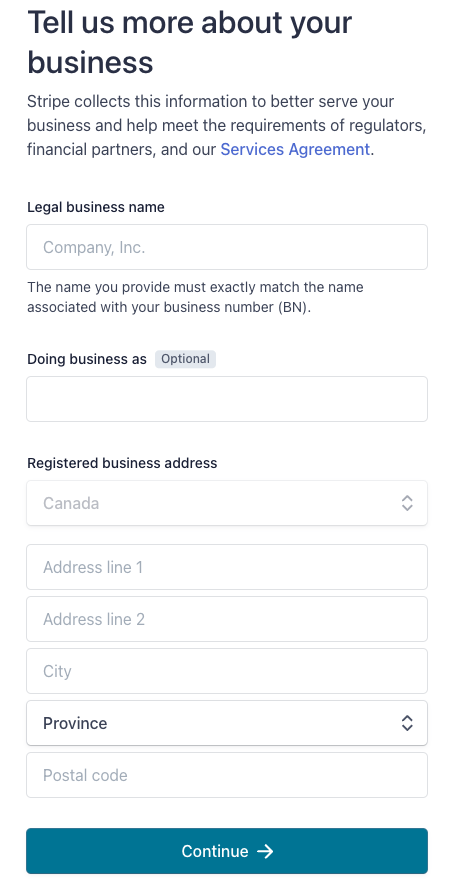
Note about Statement DescriptorsA statement descriptor is what will be shown on your client's bank account or credit card statements when you charge them through Stripe. What you input into will the "Legal business name" field will be the statement descriptor for your transactions should you choose to leave the "Doing business as" (optional) field blank. If your Legal business name is lengthy or might not be recognizable to your clients on their statements, you can use the "Doing business as" field to create a more pointed and specific statement descriptor.
- If you've selected Company as your business type: you'll be asked to provide the details of the business Owner or Administrator who will be managing the Stripe account and overseeing the payments and/or reconciliation process for the practice:
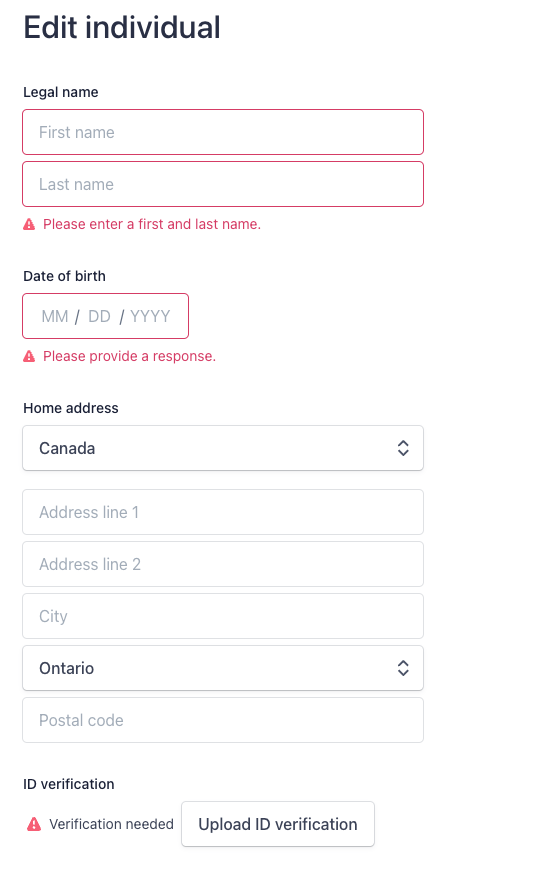
- If you've selected Individual or Sole Proprietorship: then you will need to provide personal details about yourself as the Practice Owner:
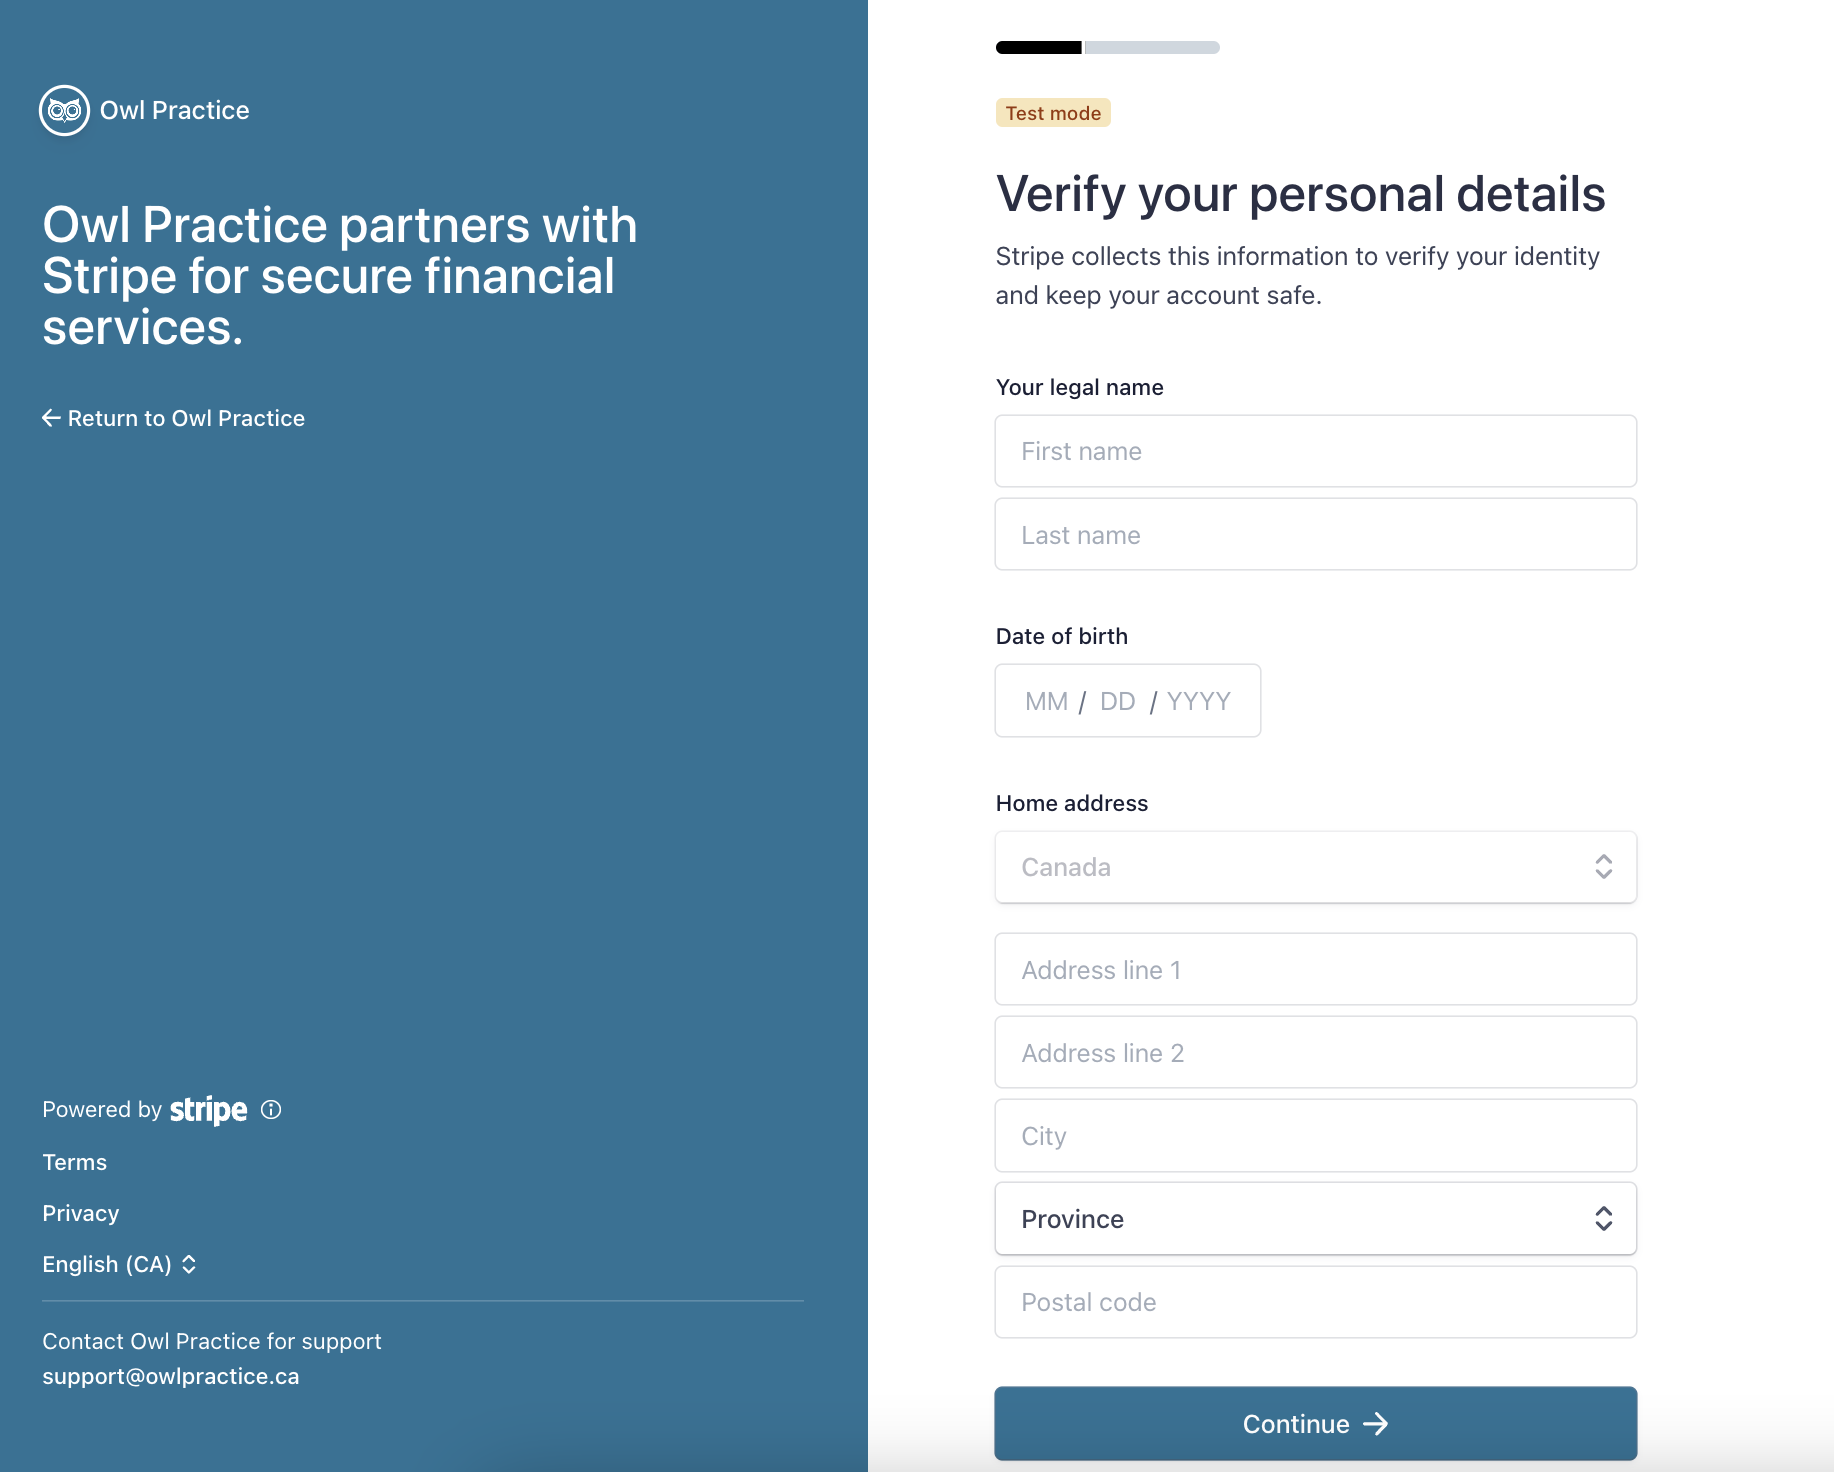
Note about Statement Descriptors
The statement descriptor (ie. what is shown on your client's bank or credit card statements) will be your First and Last Name as entered here
- If you've selected Company as your business type: you'll be asked for your business name and address:
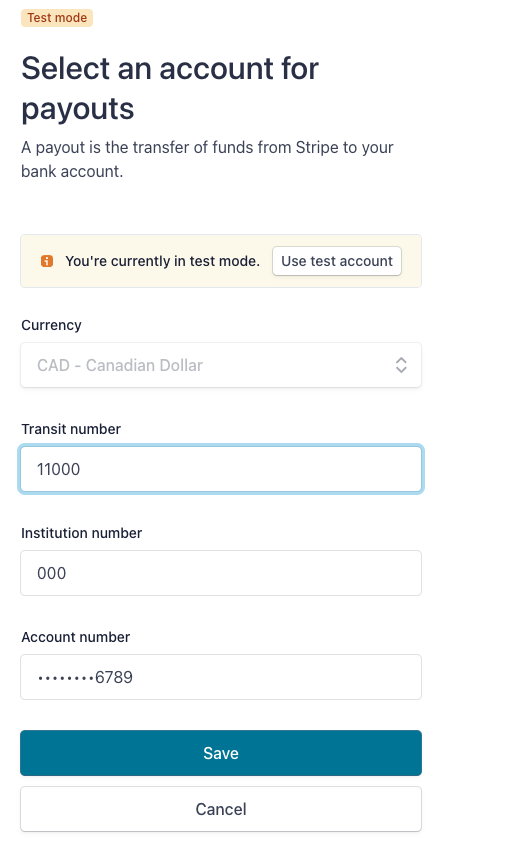
-
Next, you'll need to enter the bank account details for the bank account where your payouts from Stripe will be deposited:
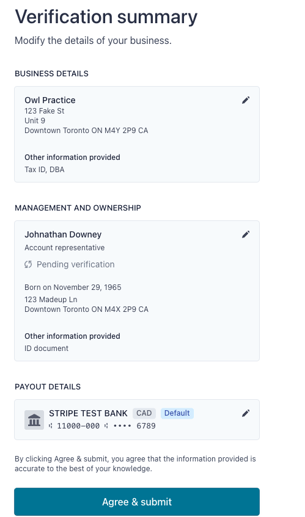
- Finally, you'll be shown a summary of the information you've entered. Review it to confirm everything is correct and then click the Agree & Submit button:
- After you've completed the account migration, you can navigate back to your Owl account and you will see that you're successfully connected to Owl Stripe Connect:
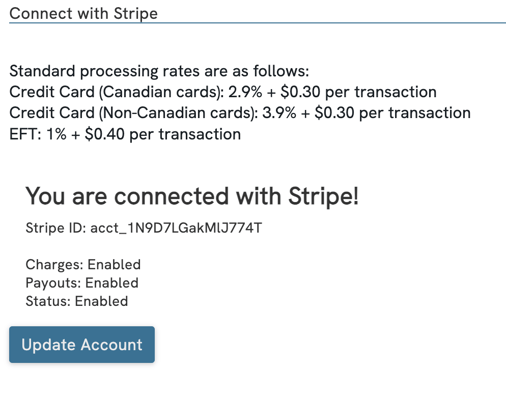
Note: After re-onboarding, your account will now be considered a Connected Account under Owl Practice, meaning you will longer have individual access to the Stripe Dashboard. You will still be able to log in to your previous Stripe account to review historical transactions, payouts, and reporting from before the migration, but any new transactions will not be visible here.
To learn more about where to find fee and payout details within Owl moving forward, check out our article on Stripe Connect Payouts and Reporting.
If you need to change any information for your merchant Stripe account, please refer to the instructions found here: Managing your Stripe Connected Account.