
Learn how to create a custom note template, use a template from the Note Template Library, and the different types of content you can include in your note template.
Note Templates define the layout of your commonly-used notes. A template consists of a title, customizable content modules, and/or dynamic content modules. For many therapists, the template is the first thing they will select in the Note Editor when writing a session note (i.e. progress notes, treatment plans) or non-session note (i.e. psychotherapy, process, or chart notes).
In this guide, you will learn:
- How to create a template from scratch
- How to use a template from the Note Template Library
- Understanding the template module types and definitions
- Deleting a note template
Create a template from scratch
- Go to Manage > Notes.
- Click on the Add Template (⊕) button.
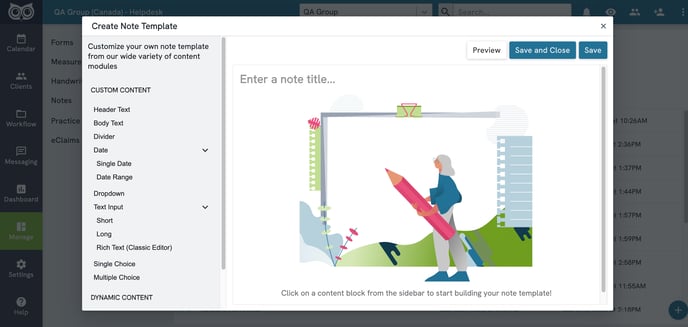
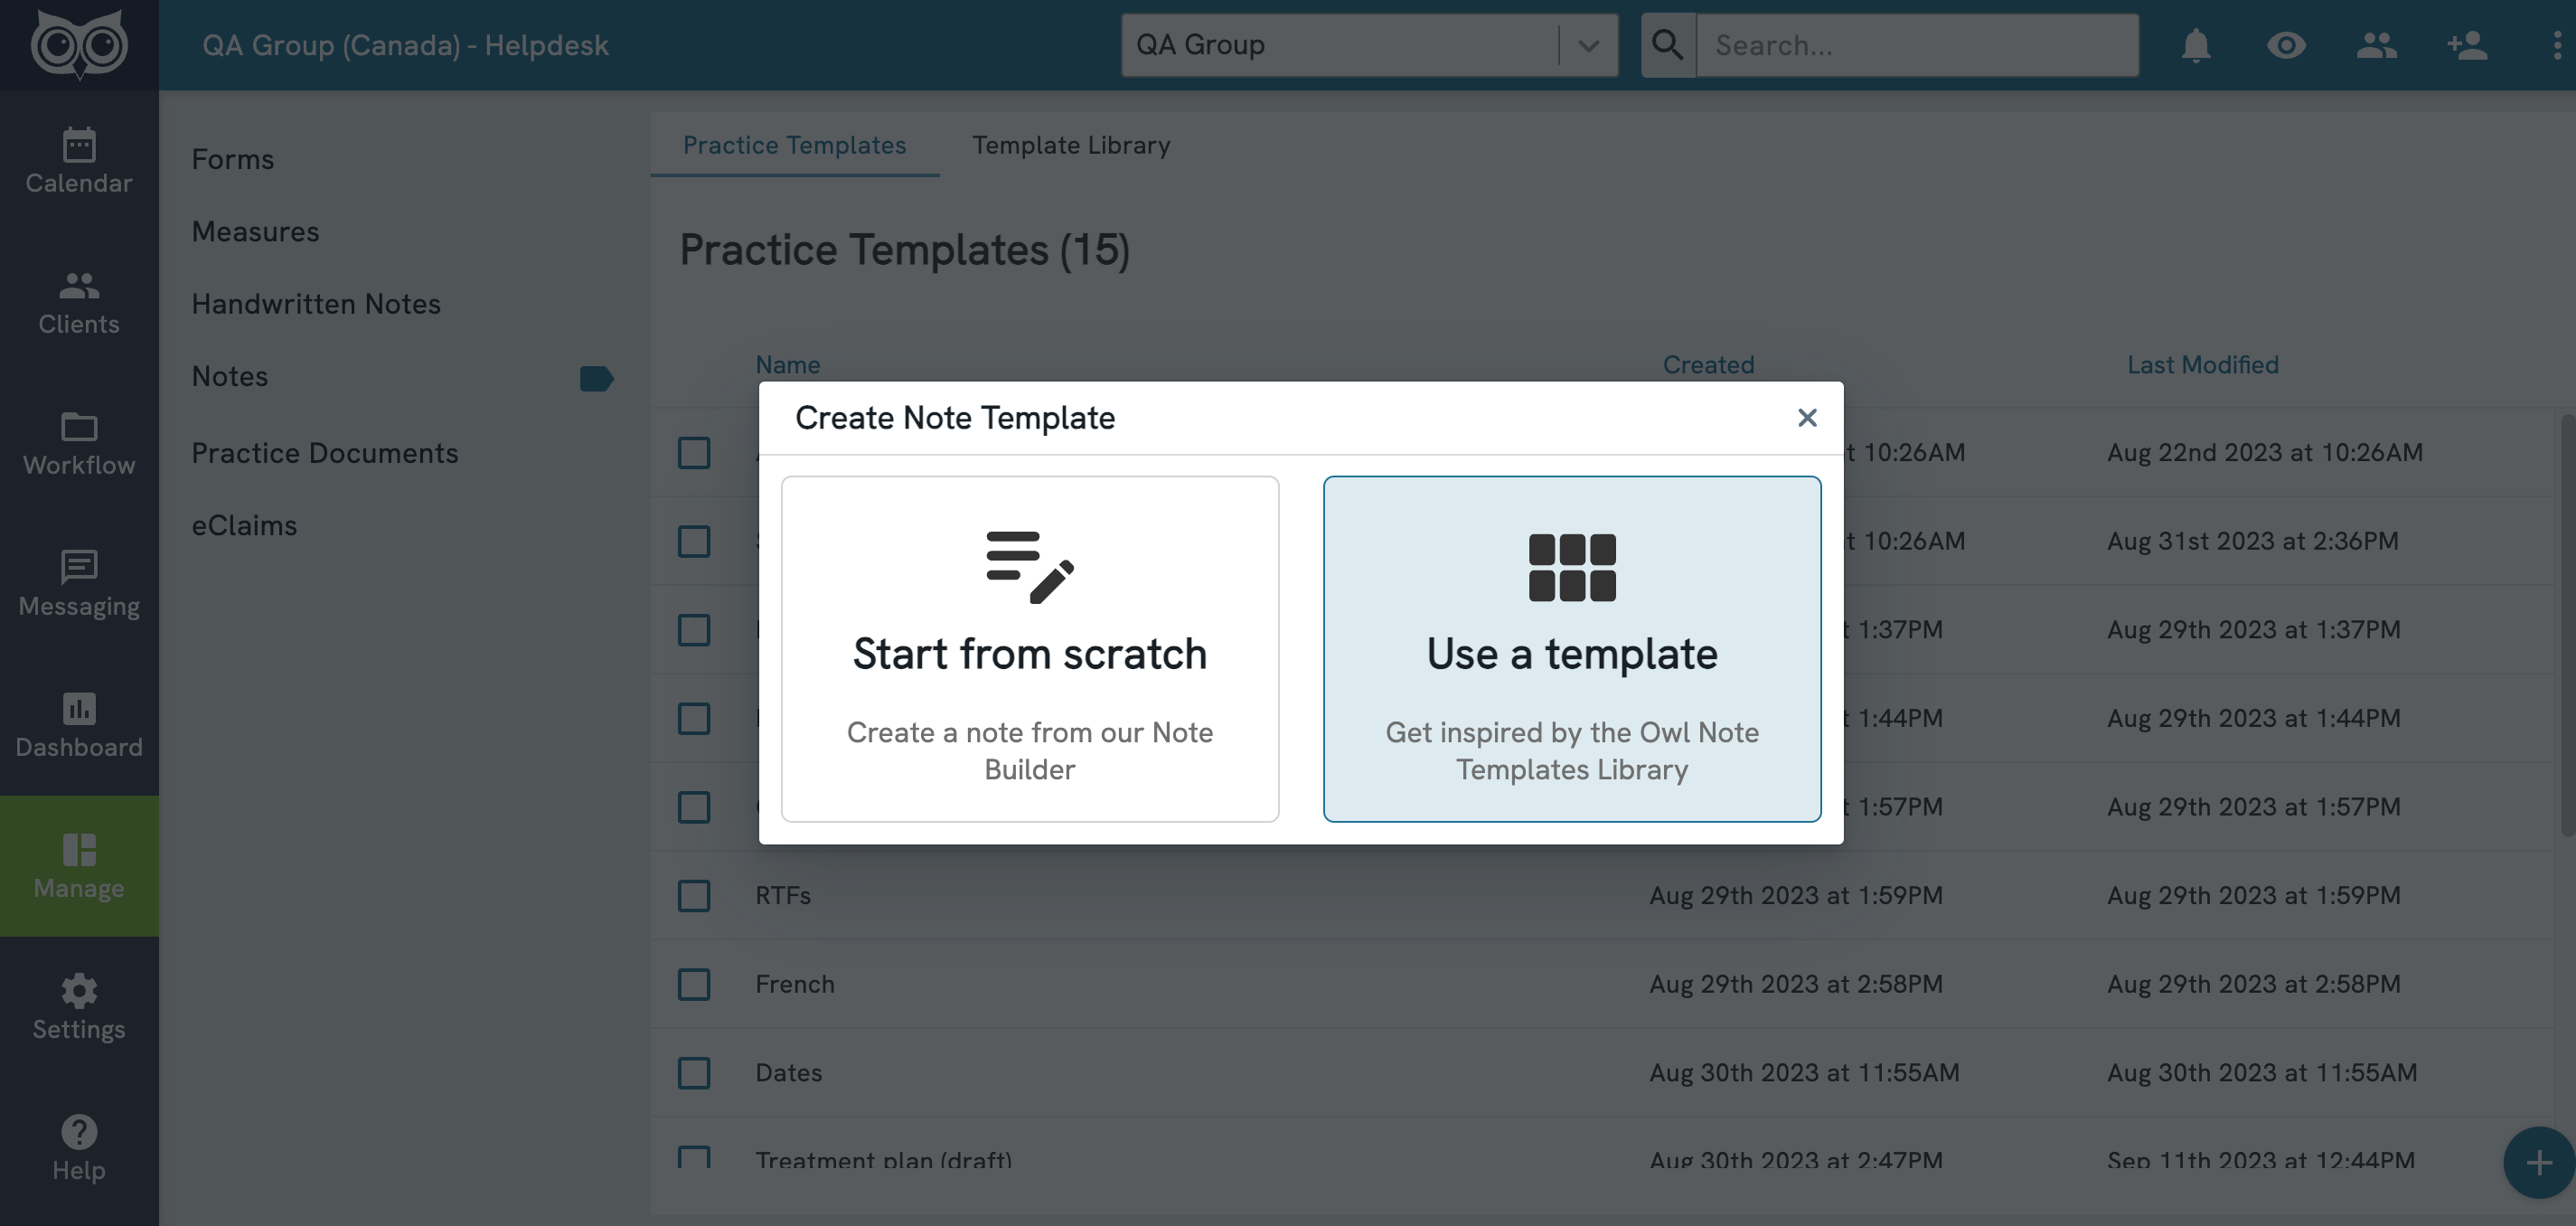
- Click on the Start from scratch button on the modal that appears:

This will bring up the Note Template Builder, which comprises of a sidebar and a canvas:
Name your template (your template won't save without a title)
Click on any content module from the sidebar to drop it into your note template canvas. Once a module appears on the canvas, you can configure it directly in-line: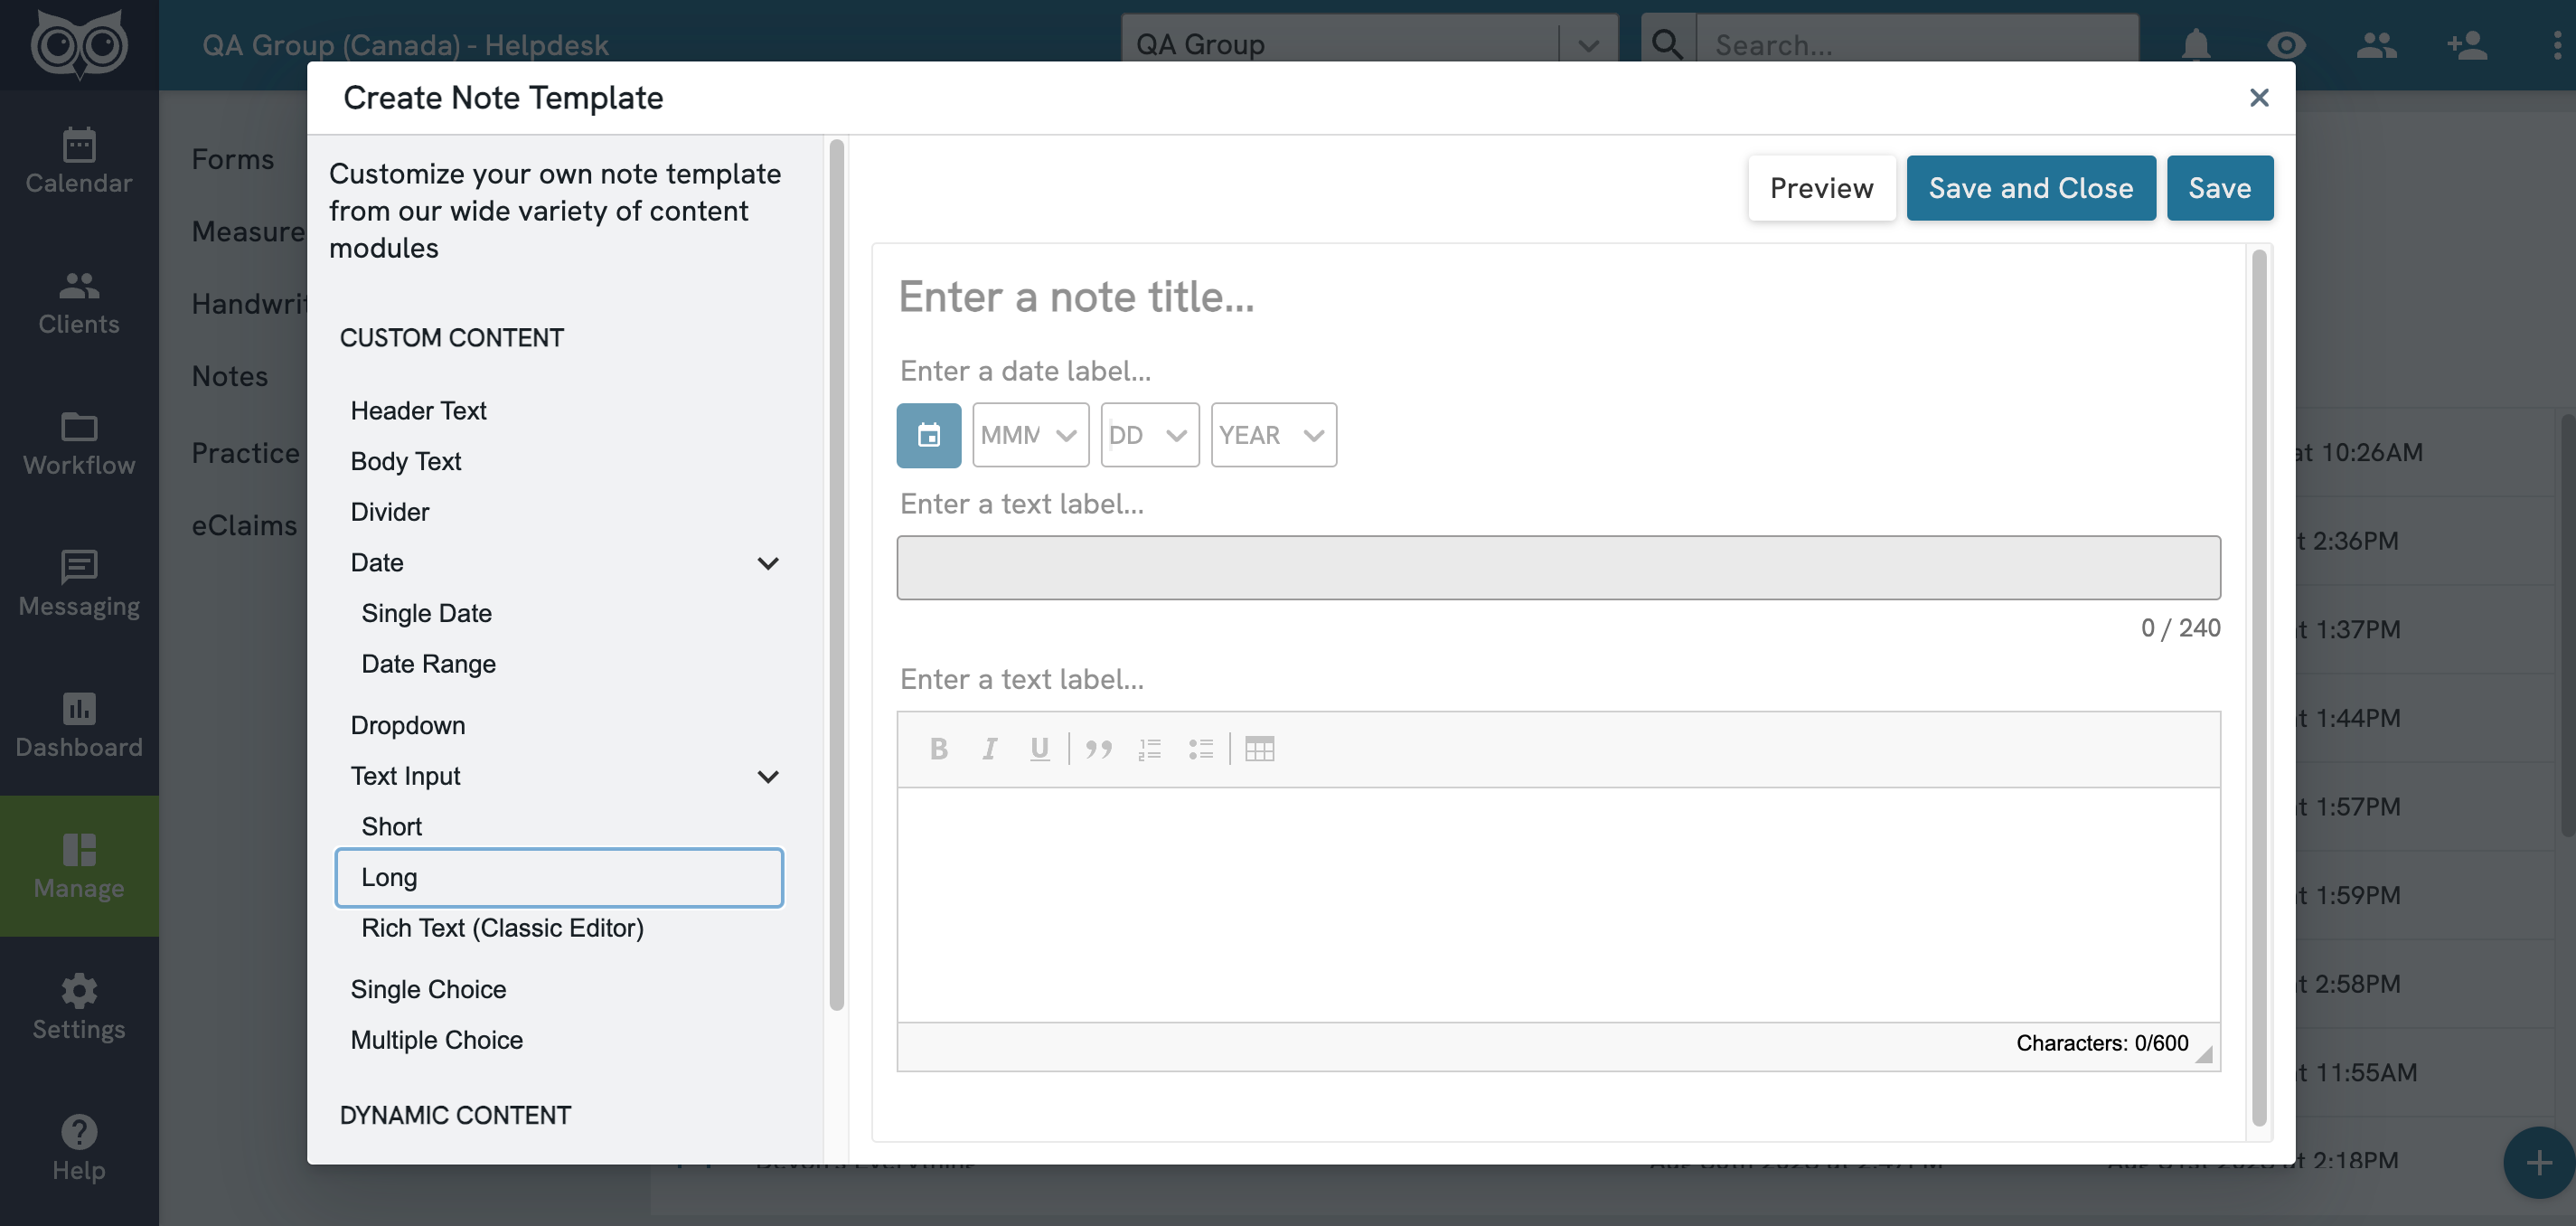
Hover over any content module to display the Action Bar: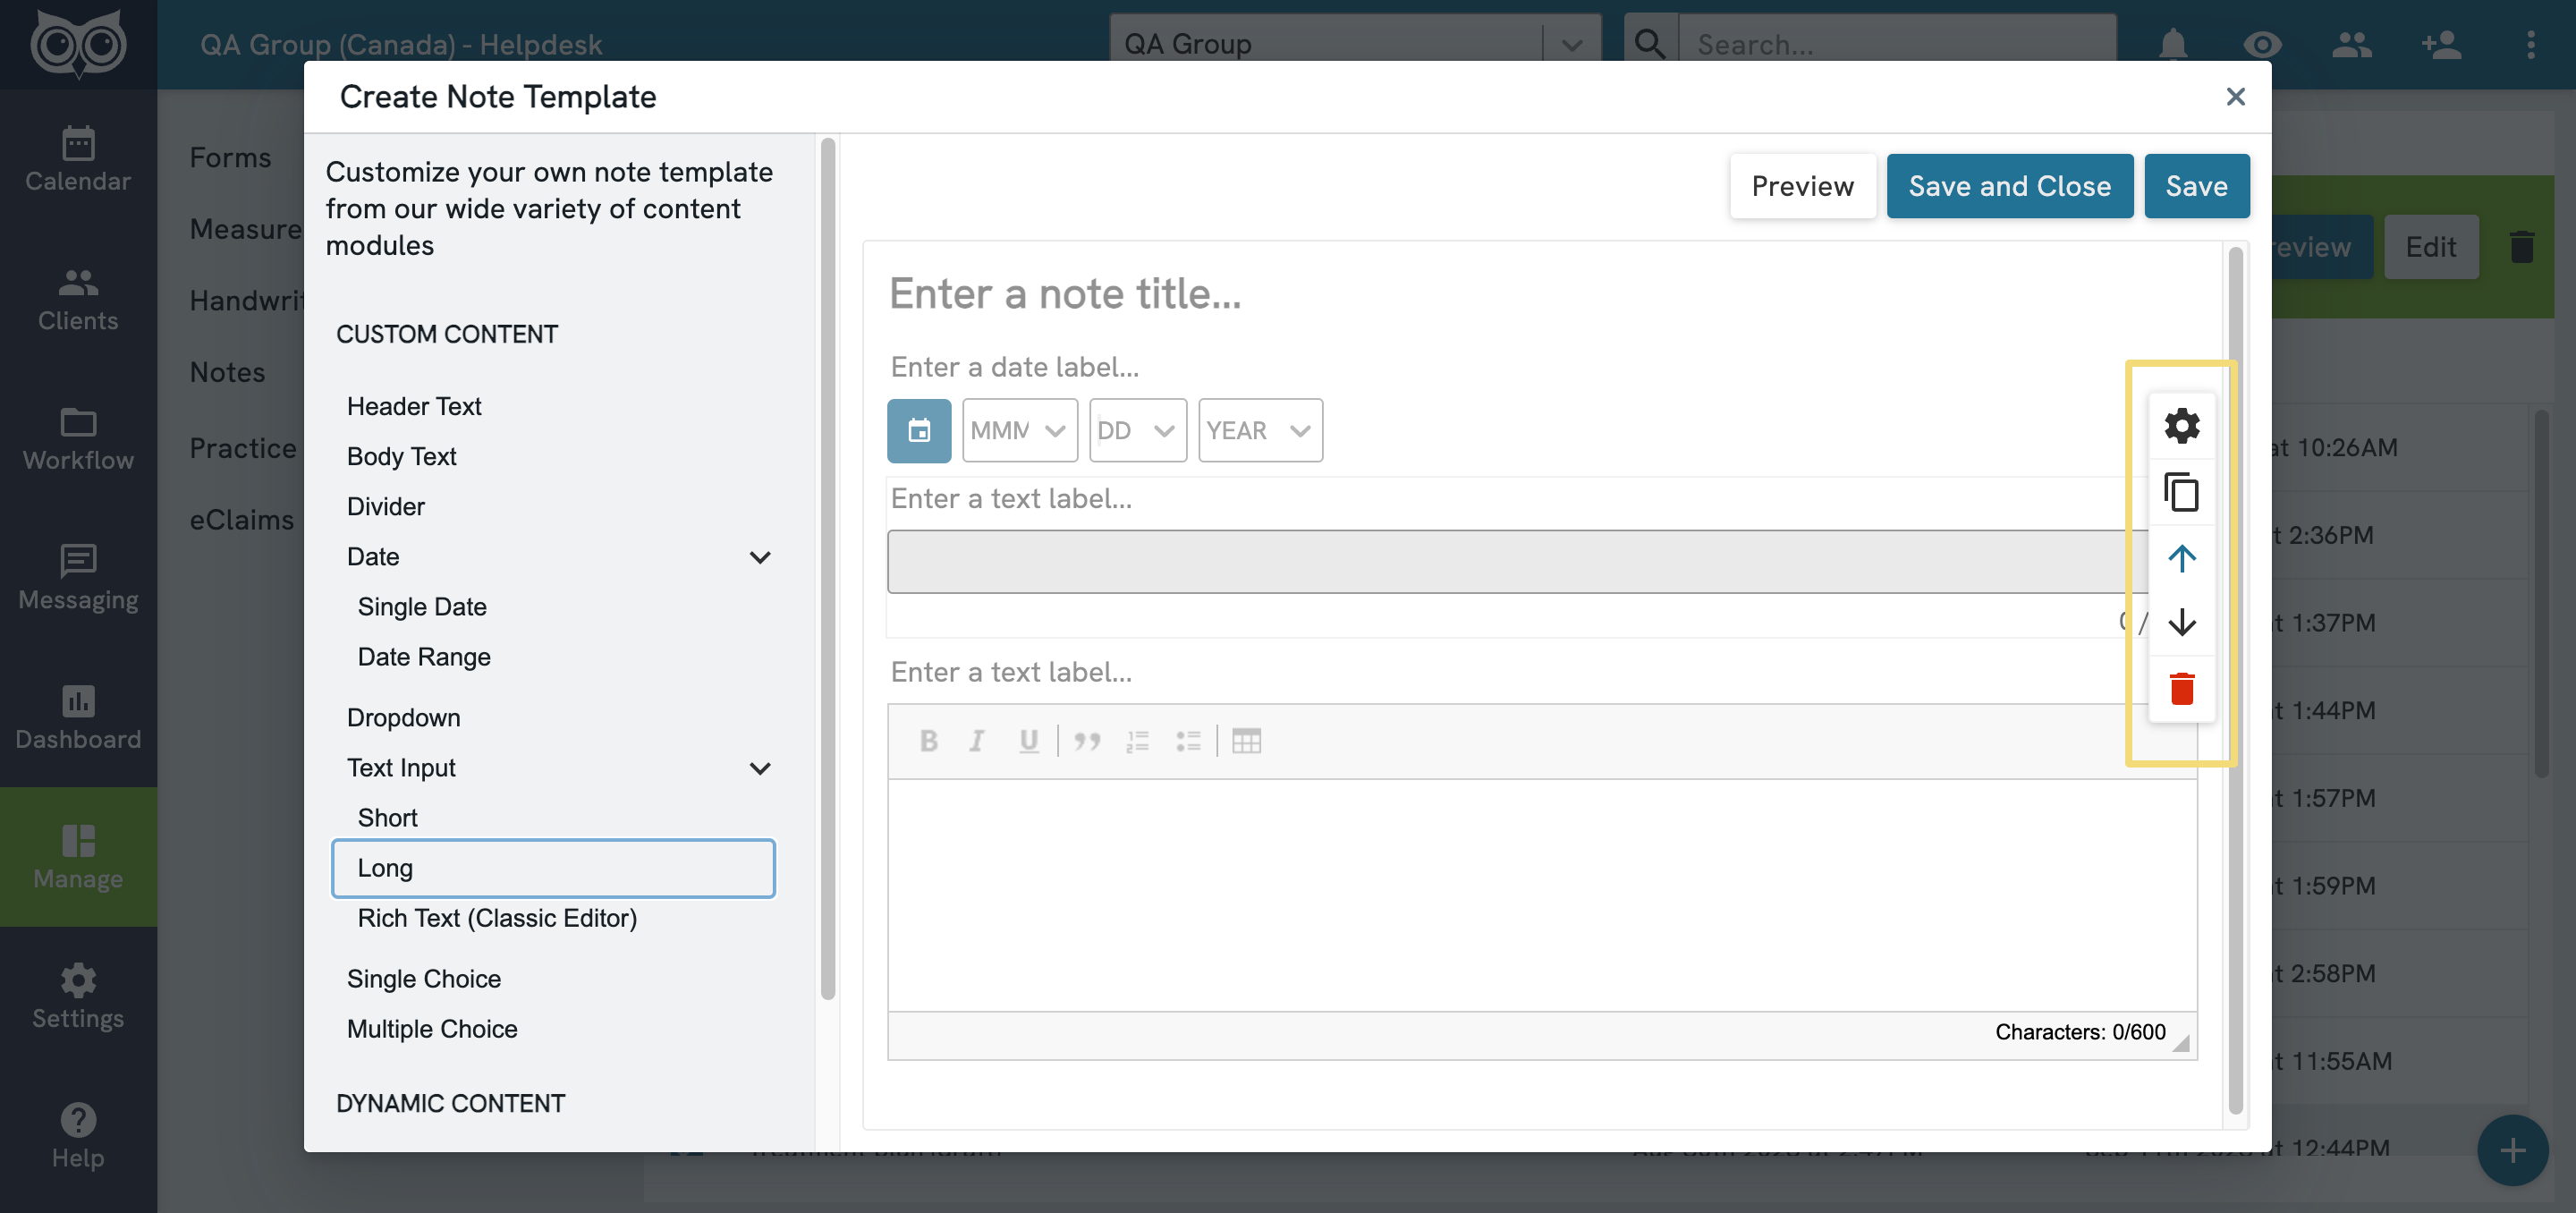
The Action Bar gives you access to the following actions:
- Module Settings: Click on the gear icon to configure how your module looks and behaves when the template is used in a note. Settings options differ from module to module - please consult the content module reference chart for full details.
- Duplicate: Click on the copy icon to duplicate the module selected. Copying a module mid-edit will keep all of your work, while copying an empty one will allow you to customize each with different content.
- Move Up/Down: Click on the upward arrow to move a module up. Click on the downward arrow to move a module down.
- Delete: Click on the trash icon to delete a module.
When you delete a module, you will not see a confirm delete modal and may lose unsaved work. We recommend saving your template as often as possible, and using the delete module functionality sparingly.
Click on Preview to see how the template will look in Note Editor view: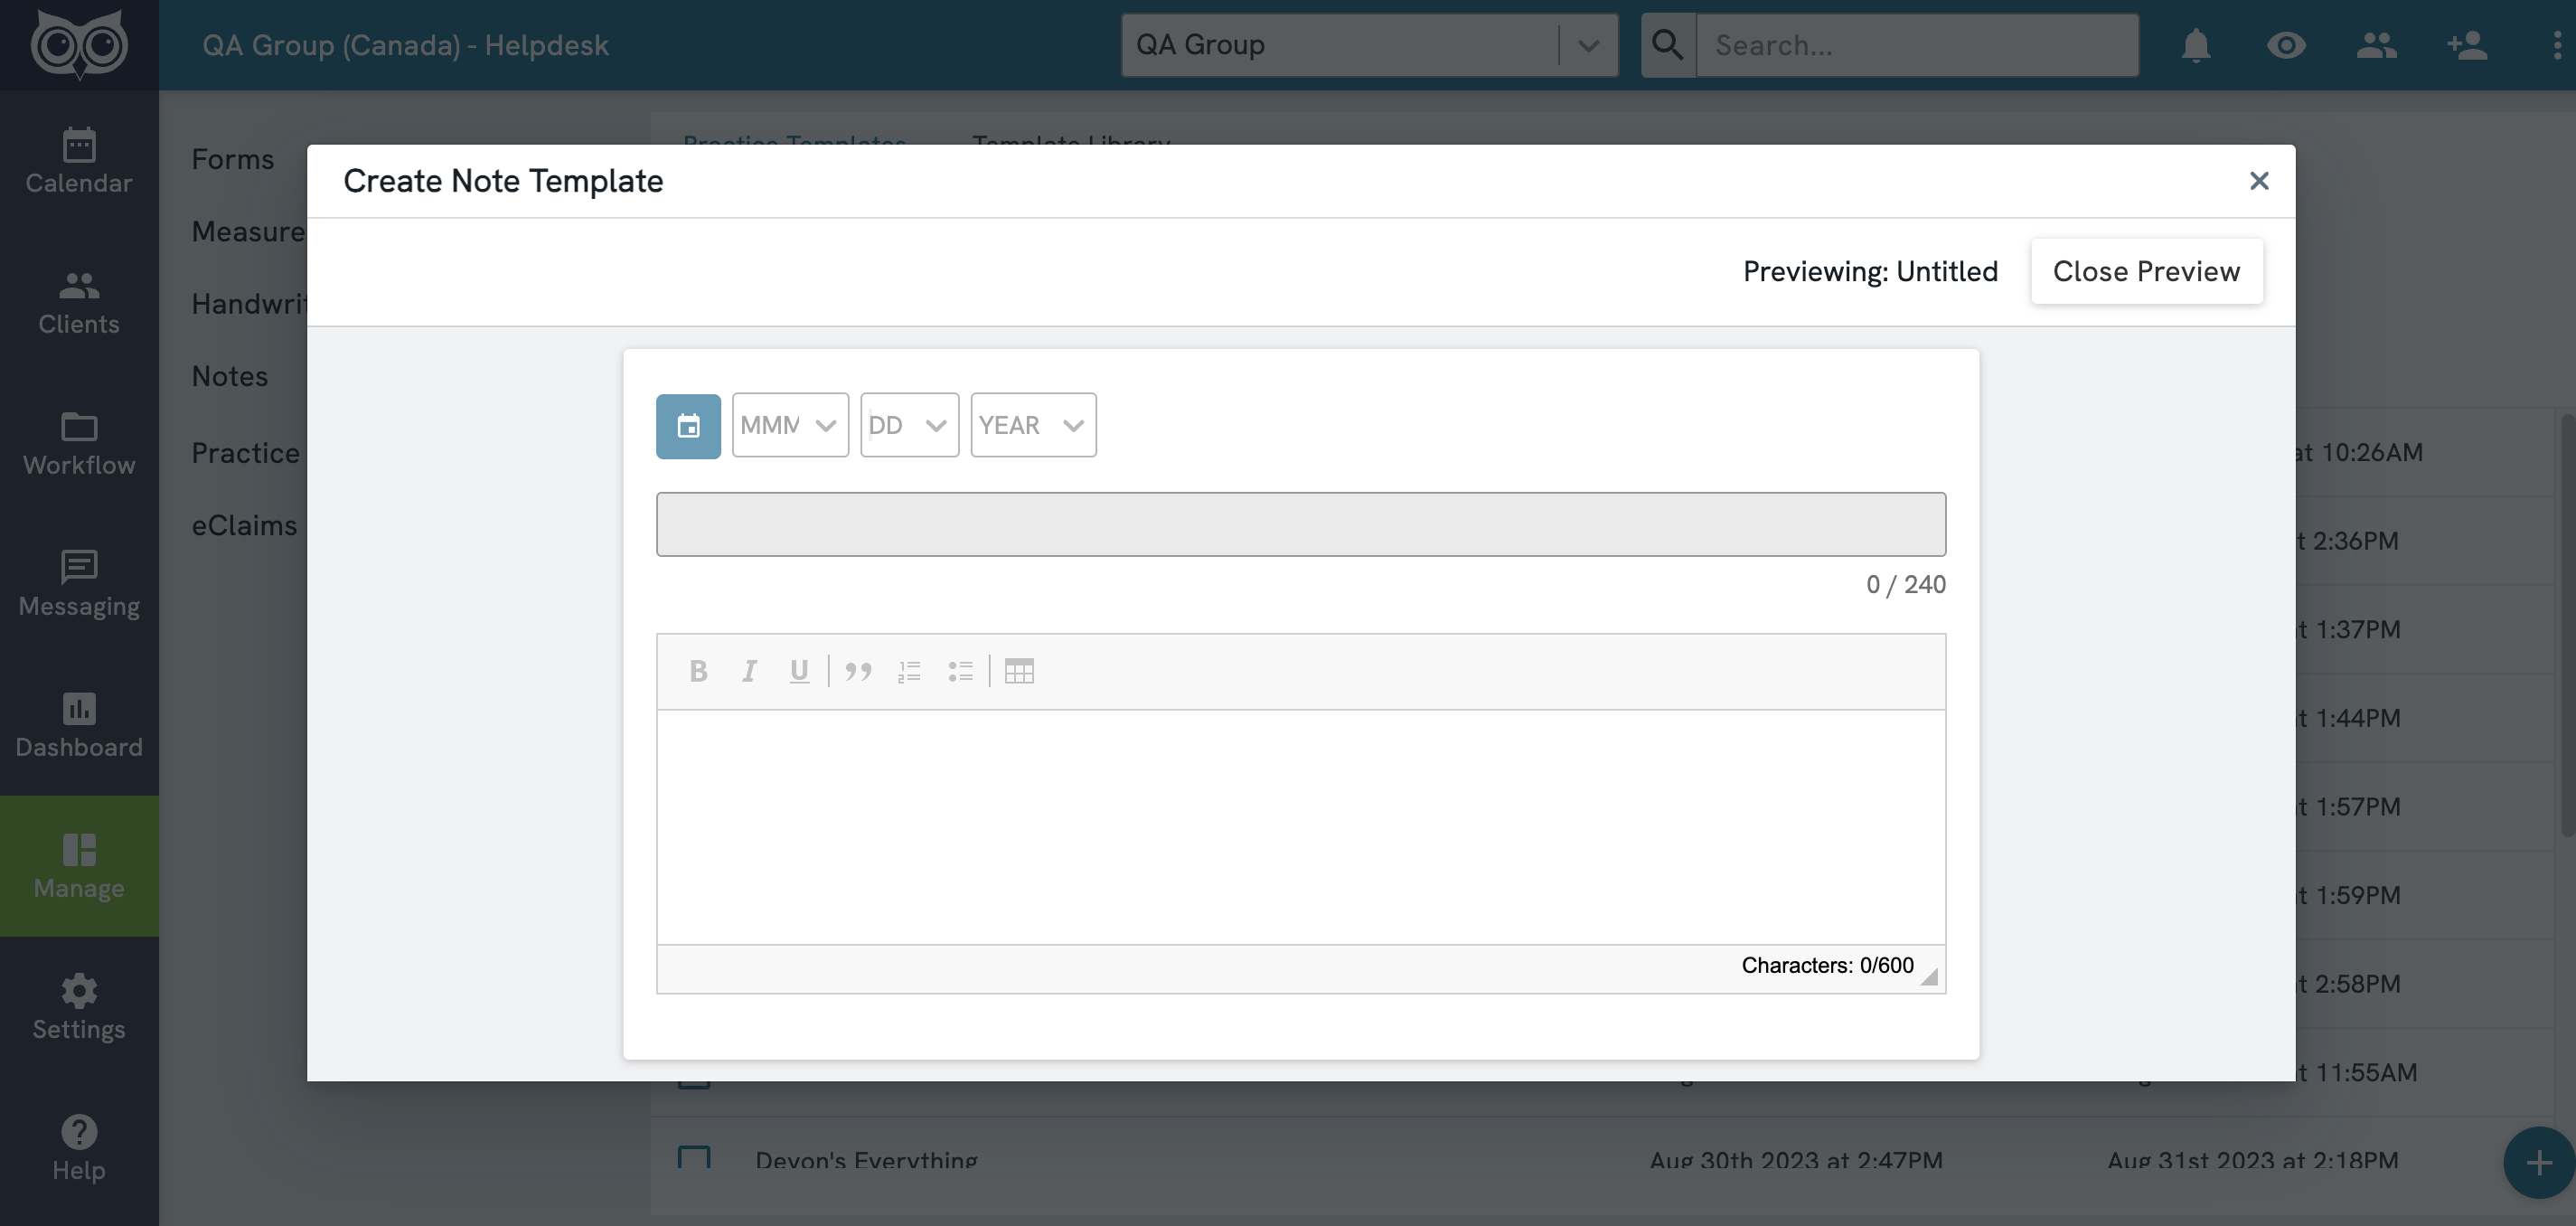
Click on Save & Close to exit the Builder, or Save to capture your progress and continue working on it.
For a deep dive into the content modules Owl supports, click here.
Once you have created and saved a Note Template, it will live under the Practice Templates tab in the Manage > Notes section of Owl: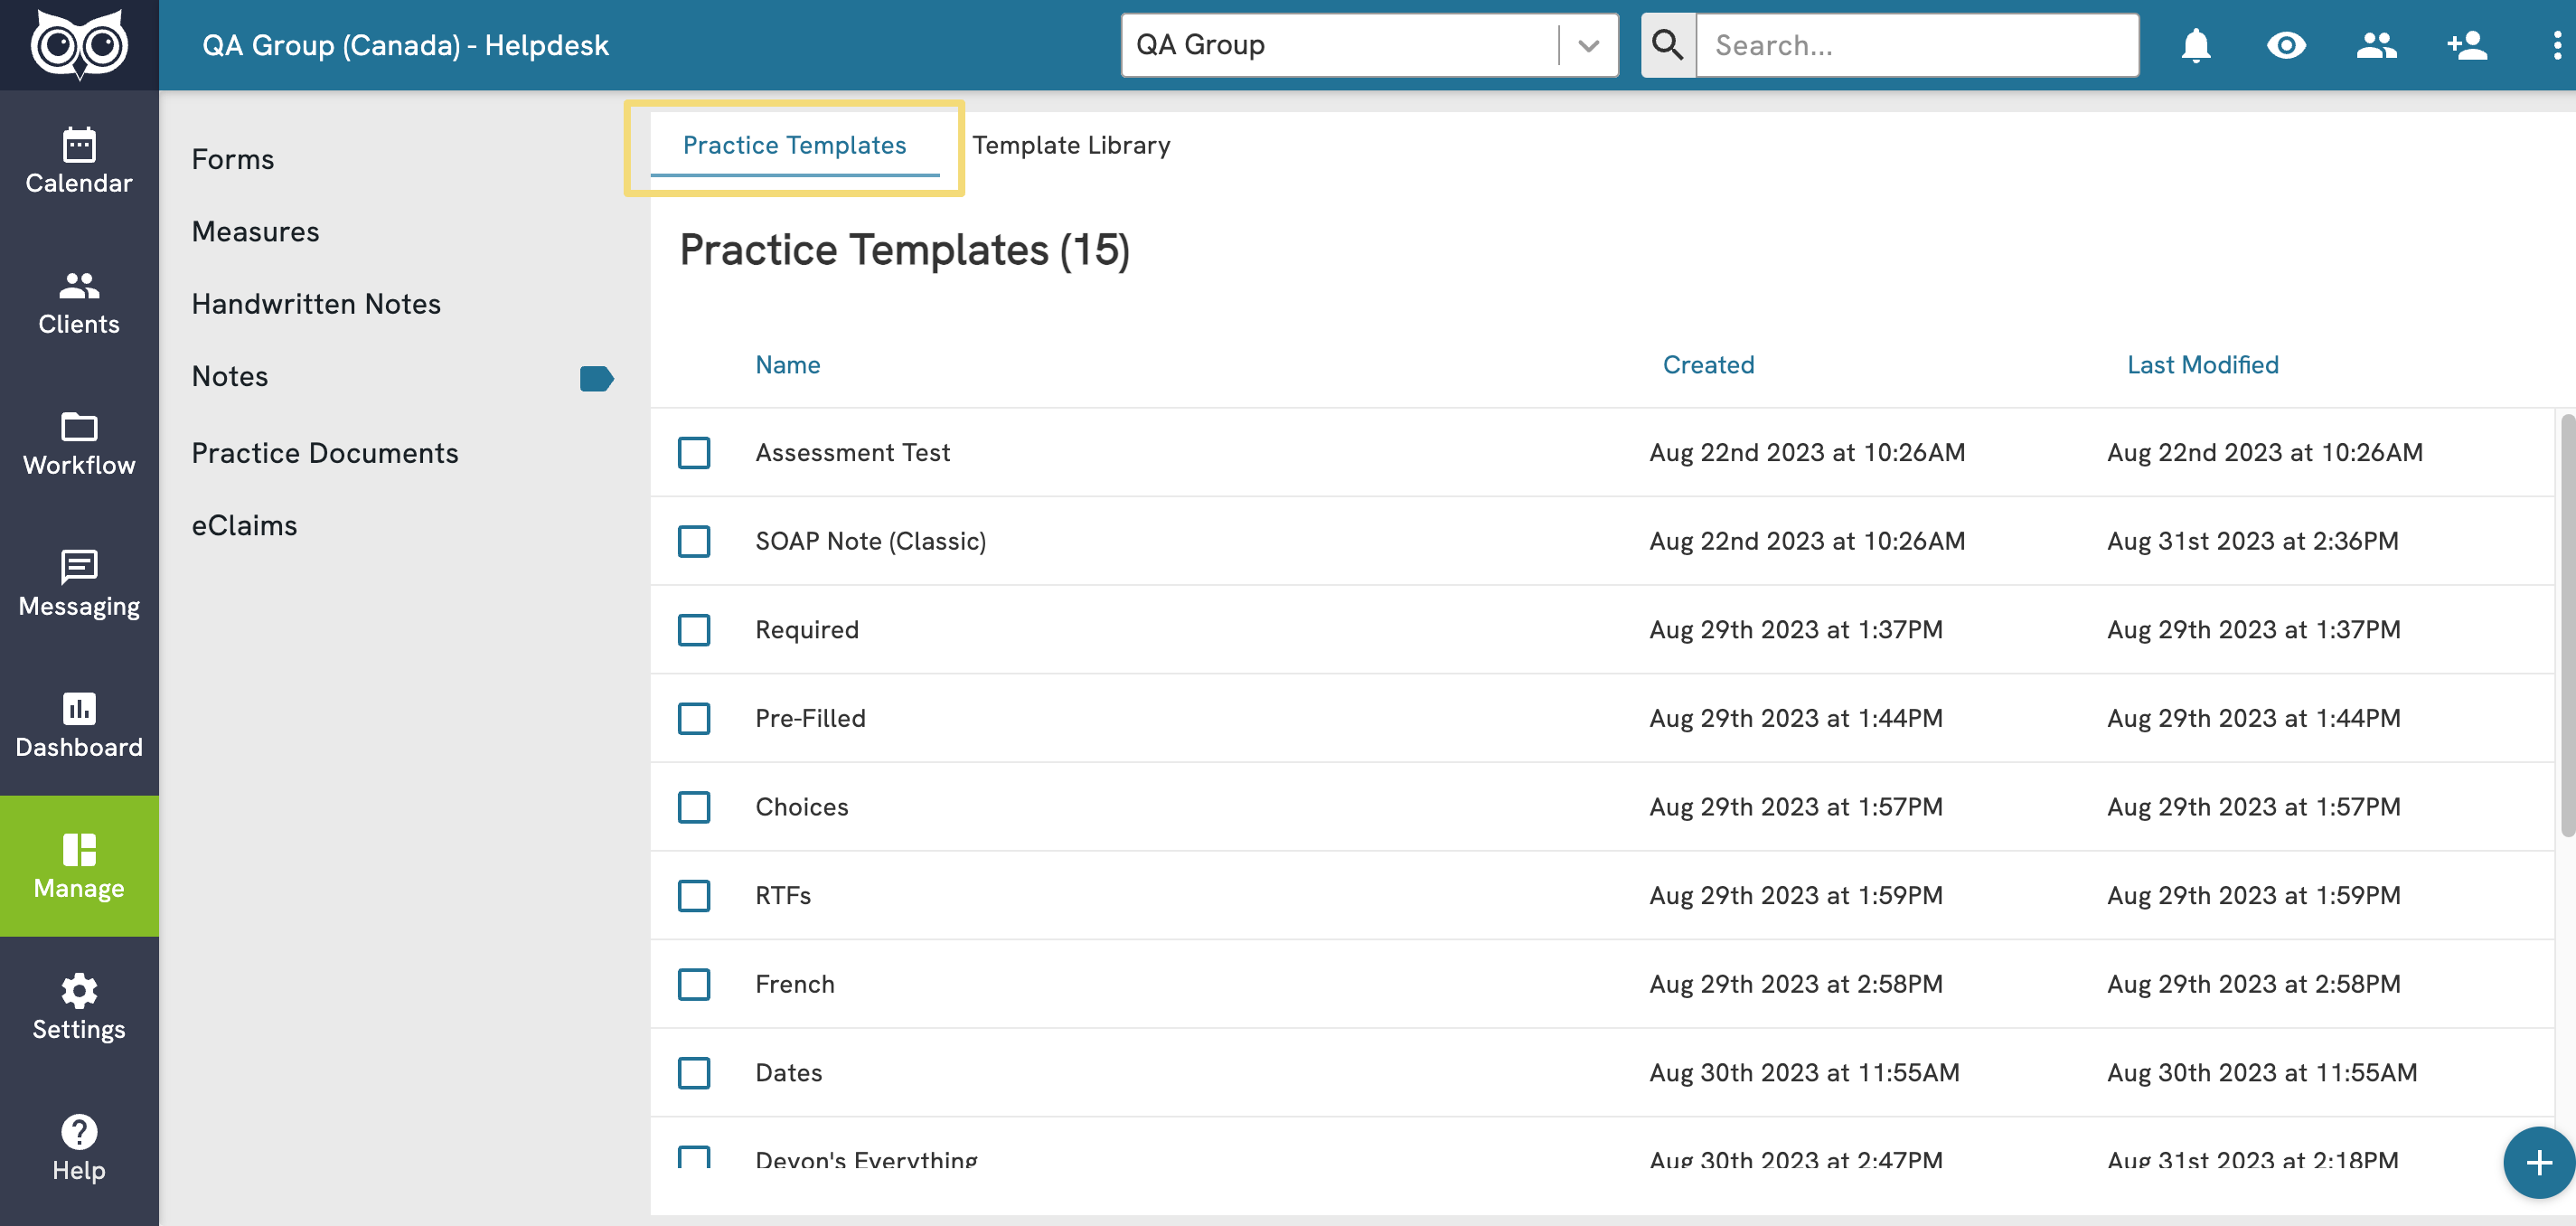
After updating a template, you can preview it to ensure it looks and behaves as you expect by selecting the template and click Preview from the green action bar: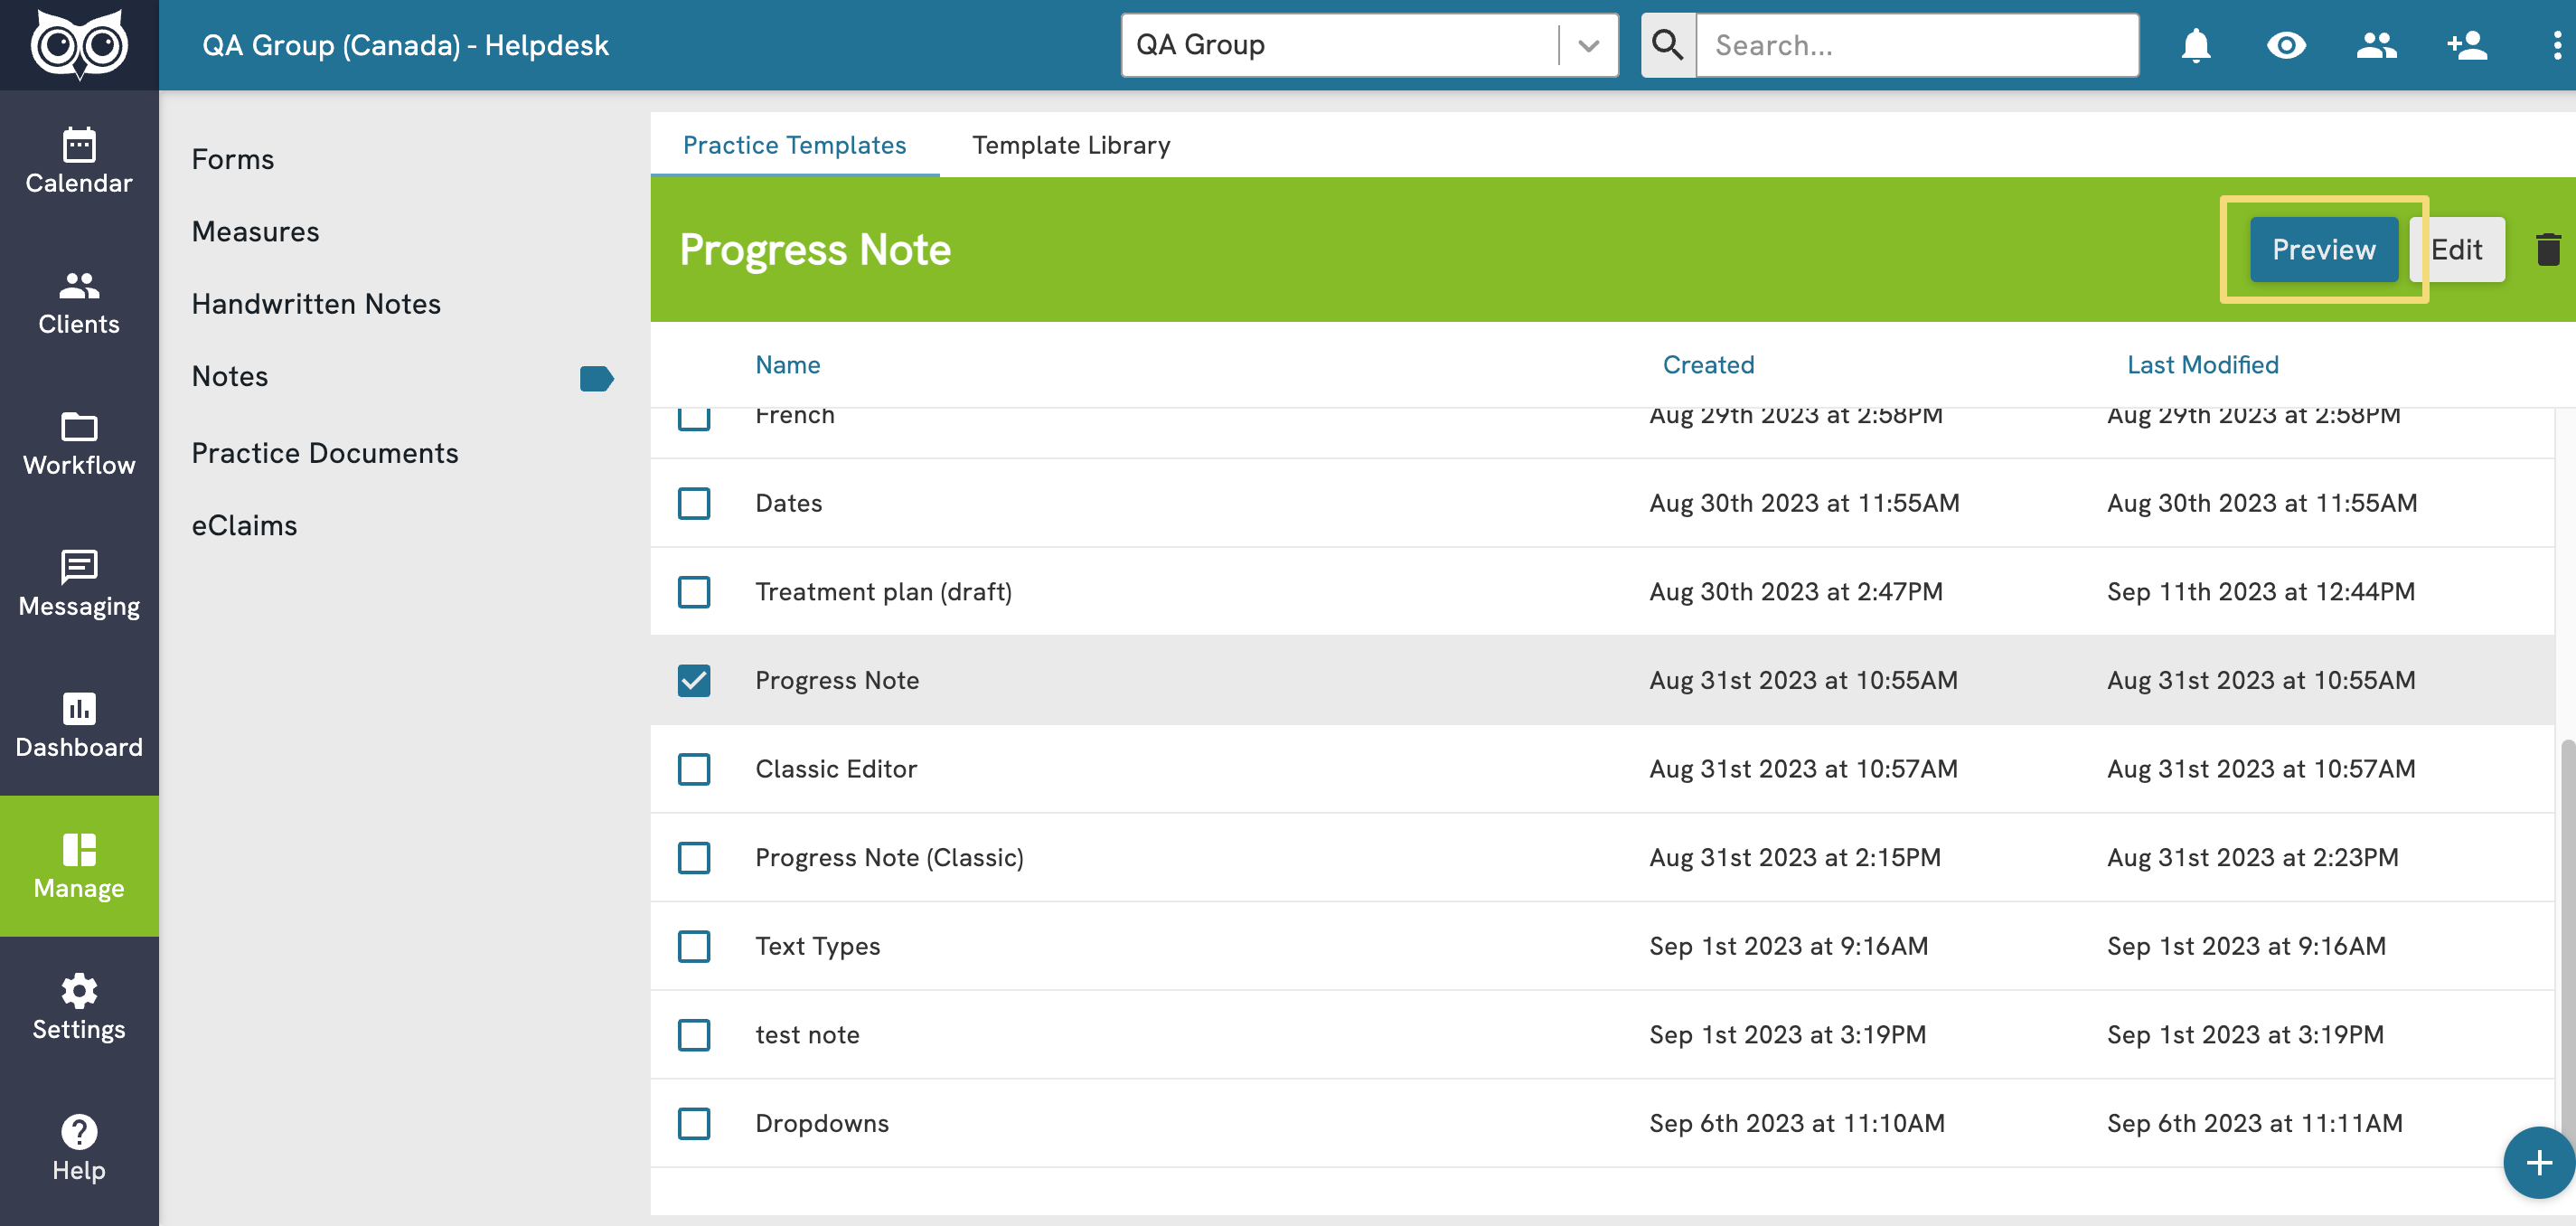
You can also edit a note template any time by clicking Edit from the same action bar.
Use a template from the Note Template Library
- Go to Manage > Notes.
- Click on the Add Template (⊕) button.
- Click on the Use a template button on the modal that appears:
You will see a variety of templates that you can use as a basis for your practice template:
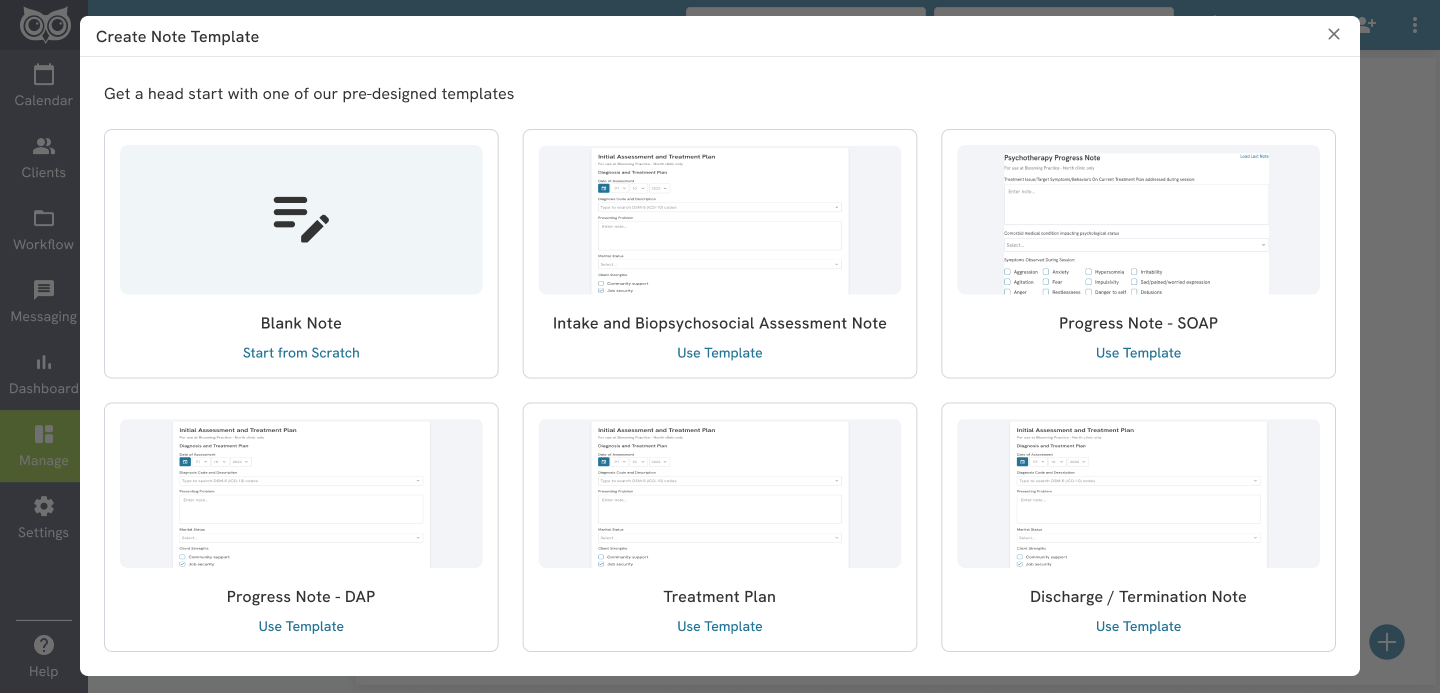
Starting September 2023, 6 new gen note templates will be pre-loaded into the Template Library tab for all new and existing accounts:
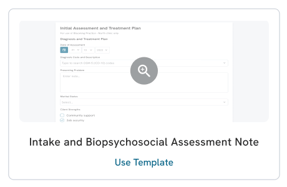
- Intake Assessment Note
- Treatment Plan
- Progress Note
- SOAP Note
- DAP Note
- Discharge/ Termination Note
If you started your Owl account after October 2018, 3 Classic note templates and 6 new gen note templates will be available in the Template Library.
Click on the thumbnail to Preview the template (a 🔍 will appear on hover), or click on Use Template to start working on it right away:
When you click Use Template, the template will open in the Note Template Builder. From there, you can Edit, Preview, or Save the template by following the same steps as the creating a template guide.
The templates that are available in the Template Library will not be usable in the Note Editor unless they have been saved to Practice Templates. The Template Library is meant to be a source of community inspiration and reference that you can apply to your clinic!
Content module types and definitions
Owl supports a wide range of Custom and Dynamic Content Modules that you can mix-and-match to build a template to your preference. You can think of these as the sections or building blocks of your template that you can pre-set for the notetaker to use when they write a note using a template - whether it is yourself or someone else. 2 main types of content modules are available:
Custom Content modules are modules for which you can customize the labels, input type, options, and requirements. Building a template with Custom Content modules can save you time by setting up the framework of your note in advance, so when it comes time to write your note, all you have to do is update the responses.
Dynamic Content modules are placeholders for client profile information. Building a template with Dynamic Content modules will automatically pull in client data from their profiles, so you don't have to key them in each time you write a note.
Below is a reference chart detailing the custom module types and what they can do for you:
Custom Content modules
| Name | Definition | Settings Options |
| Header text | A short line of text in a header size font | N/A |
| Body text | A short line of text in paragraph-size font | N/A |
| Divider | A horizontal rule | N/A |
| Date | An MM-DD-YYYY format date picker | Show/hide time input Mark/unmark as required |
| Date Range | A pair of MM-DD-YYYY format date pickers | Show/hide time input Mark/unmark as required |
| Dropdown | A dropdown menu with a label and selection options | Mark/unmark as required |
| Short text input | A short text input with a label (up to 240 char) |
Mark/unmark as required |
| Long text input | A long text input with a label (up to 600 char) | Mark/unmark as required |
| Rich Text (Classic Editor) | A nested Rich Text/HTML editor, similar to the one used in Owl's Classic Note Template Builder | Mark/unmark as required |
| Single Choice | A label and radio button options. Only allows one option to be selected. | Convert to multiple choice Add an "Other" option Mark/unmark as required |
| Multiple Choice | A label with checkbox options. Allows more than one option to be selected. | Convert to single choice Add an "Other" option Mark/unmark as required |
Dynamic Content modules
| Name | Definition | Customizations |
| From Client Profile | A label with an input field for tagged properties from the Client Profile > Contact Details. |
the following client details can be tagged: |
| Presenting Issues or Diagnoses | A label with an input field for tagged properties from the Client Profile > Clinical Details > Presenting Issues or Diagnoses. | Existing client records will auto-populate into the template, when used in a session note. When used in a session note, the notetaker can remove or input additional values. |
| Medications | A label with an input field for tagged properties from the Client Profile > Clinical Details > Medications. | Existing client records will auto-populate into the template, when used in a session note. When used in a note, the notetaker can remove or input additional values. |
Deleting a note template
If you no longer need a practice template, you can delete it to keep your account organized.
To delete a template:
- Go to Manage > Notes.
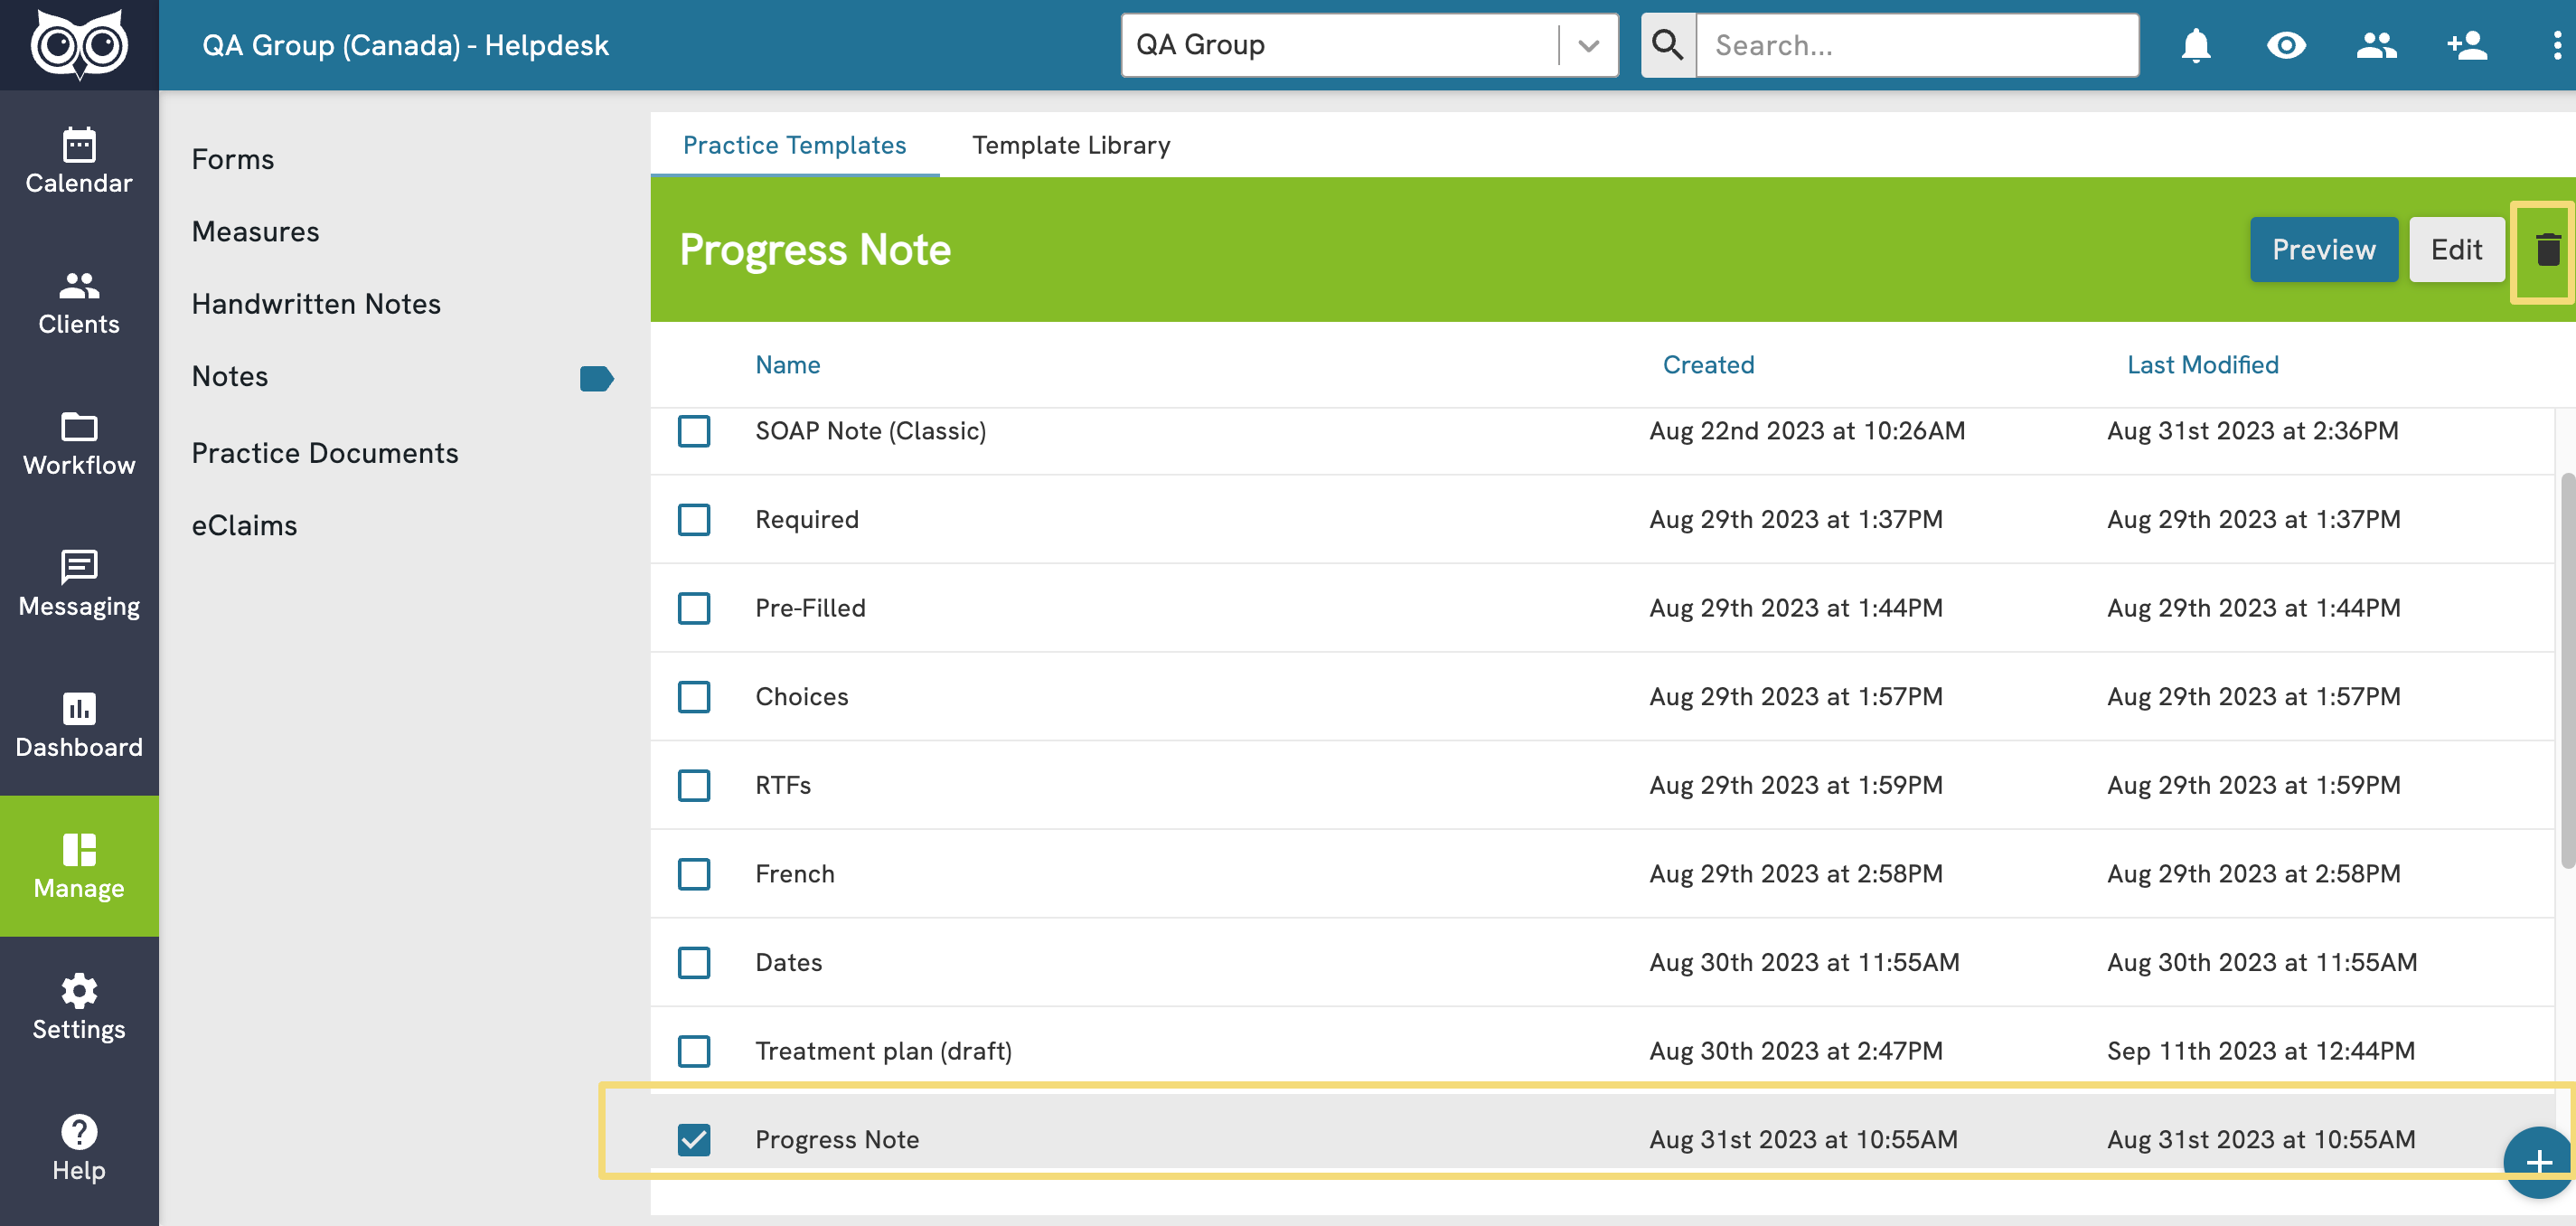
- From Practice Templates, select the template you wish to delete.
- Click on the trash icon from the green action bar that appears:
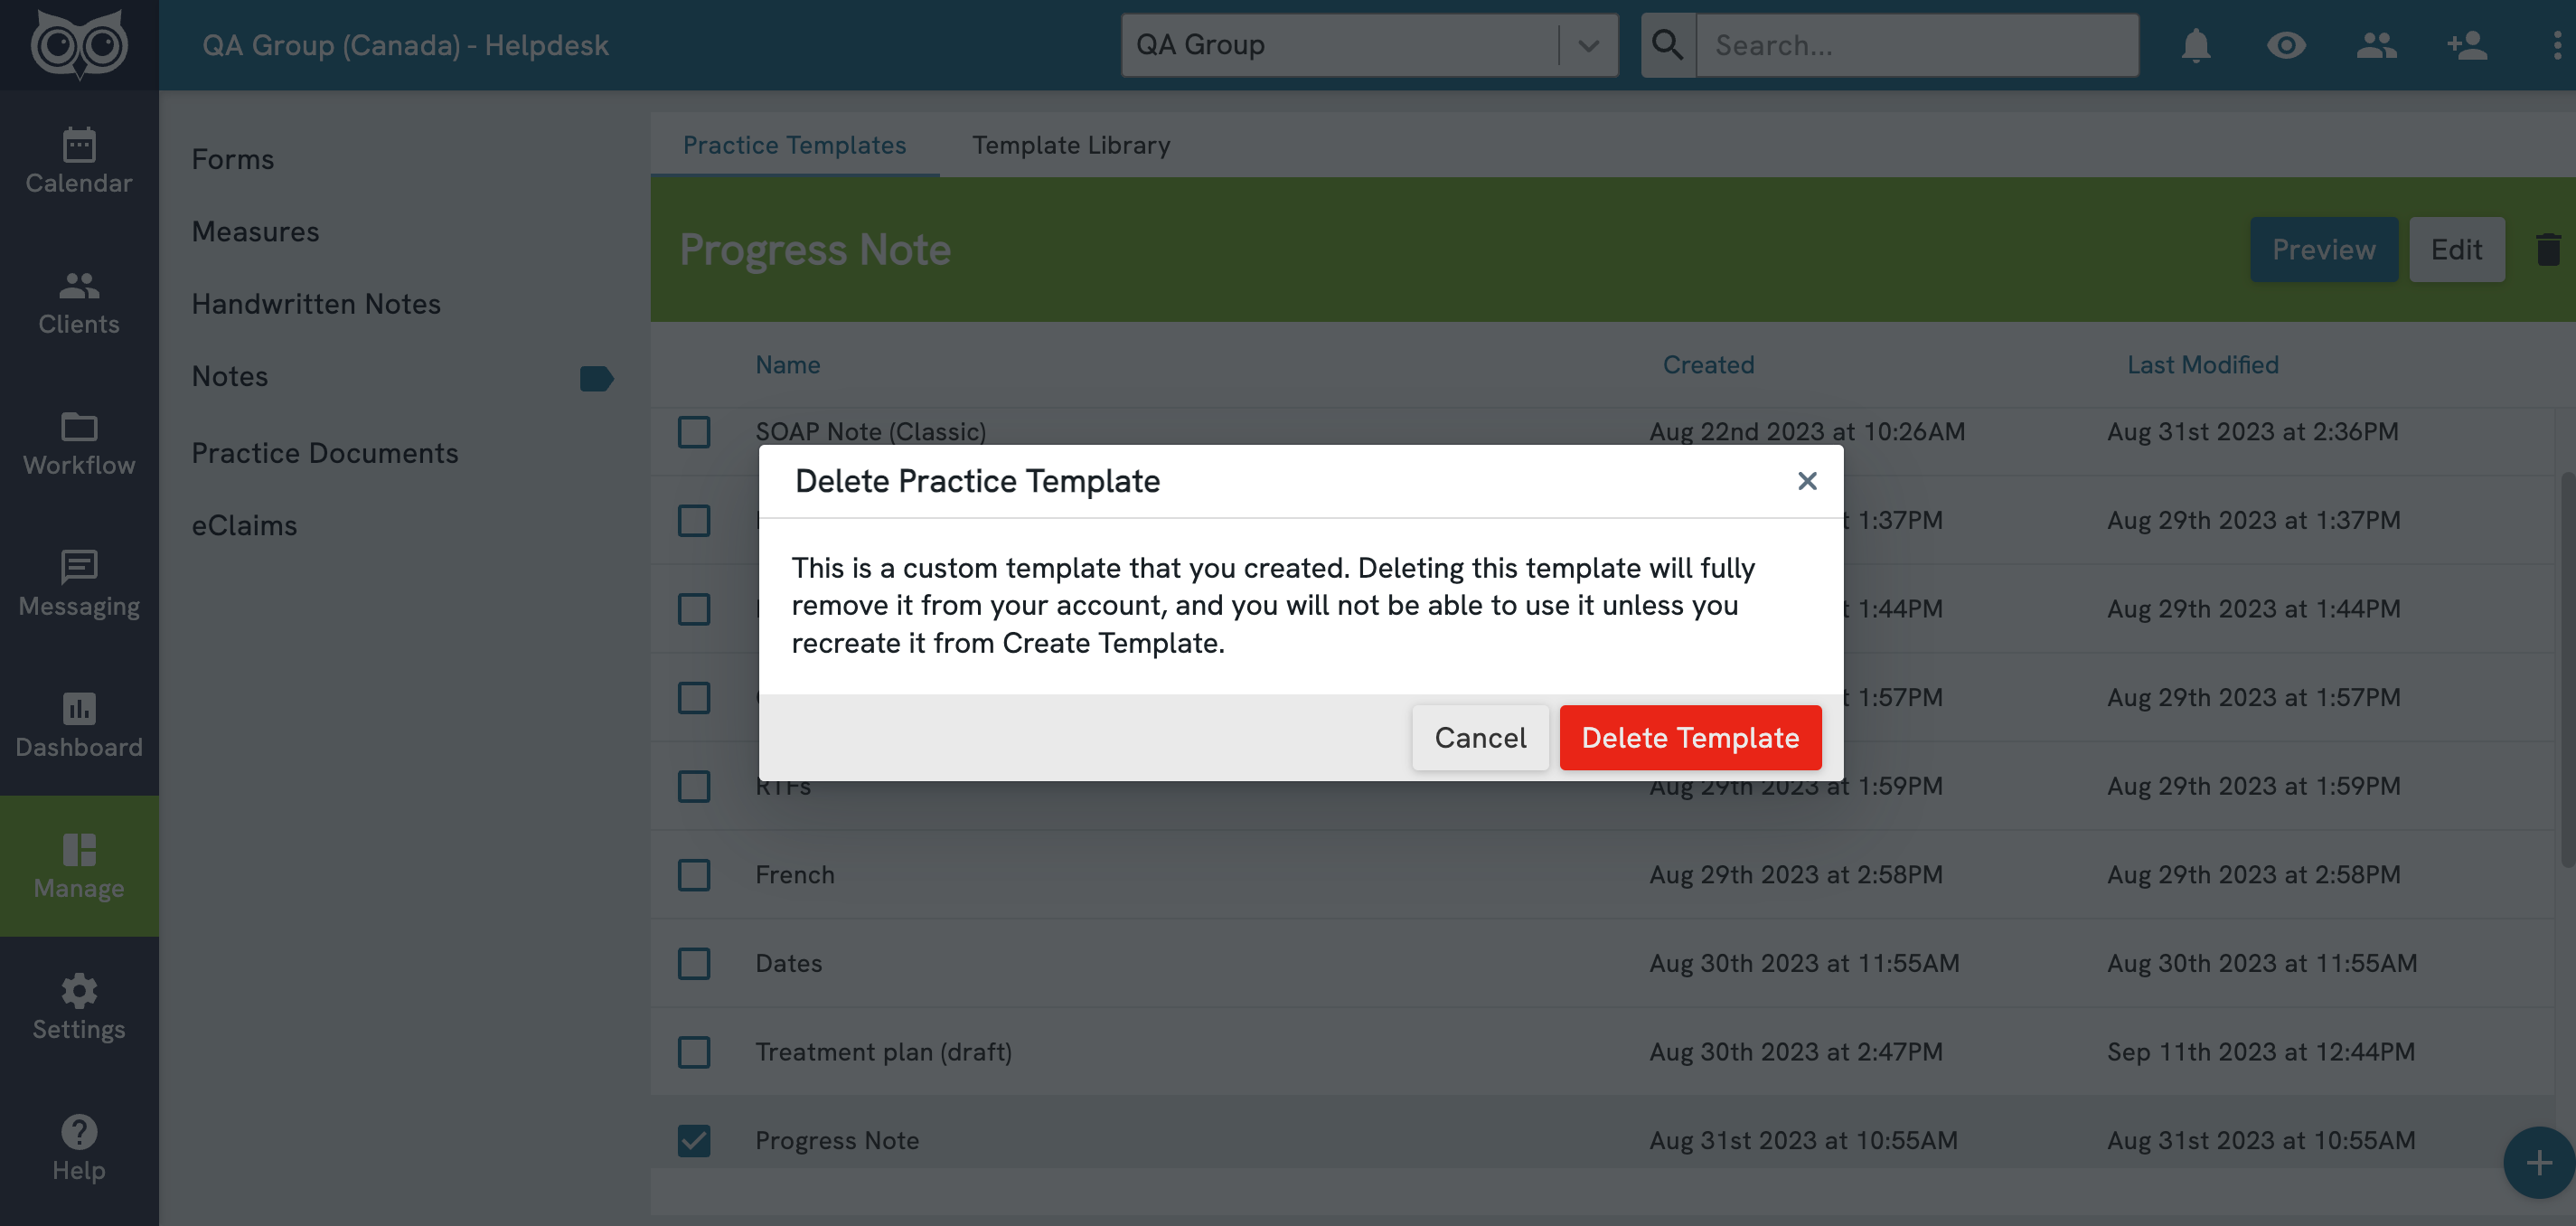
A warning modal will appear. Click on the red Delete Template button to confirm that you want to delete the template:
Depending on how the template was created, you can expect one of two things to happen:
Deleting a template that you saved from the Template Library: Deleting this template will remove it from Practice Templates. You can always re-activate it from the Template Library, however, any customizations made will be lost and you will not be able to recover them.
Deleting a template that you built from scratch: Deleting this template will fully remove it from your account, and you will not be able to use it unless you recreate it from Create Template.